Photographing a family can be a herculean task, right from accommodating so many people of various personalities, handling your equipment and the on-the-clock schedule or you run the risk of kids getting grumpy!
However, when you have certain tips & tricks up your sleeve – the process can become enjoyable for both- the photographer and the family.
I have put together 10 tips & tricks to keep in mind when photographing a family.
1. Comfort is the Key
Make sure the family members enjoy the photography session. Most families don’t pose for professional photos often and as such are not used to it and might feel a bit awkward which can easily show in the photographs. Nervousness and stiffness in expression can make the photos turn out artificial and dull.
Therefore, instead of directing them to pose a certain way, in the beginning, it’s essential to break their camera consciousness.
Tell them they are beautiful and have got nothing to worry about. Instill a lot of confidence in them. The more naturally confident they are, the more beautiful the pics will turn out to be.
Ask them to have a normal conversation, you can crack some jokes to ease them out. Have some jokes ready with you to arm you in your photography sessions. Now shoot candid. You’ll get beautiful images this way while the members will also have a blast!
2. Bond Like James Bond
Besides the technical aspects of photography, you must form a bond with your clients. You’ll be capturing them in their intimate and personal moments so a little breaking the ice is necessary.
Goof around with the kids. With the adults, start a conversation about random subjects until you find something they like, and then you can build up a rapport.
Avoid stressful subjects such as politics or career.
Ask them to abort a particular pose if they’re not comfortable with it. Knowing that they are in control and won’t be forced to pose a particular way builds trust and makes them more comfortable.

3. A family is always close
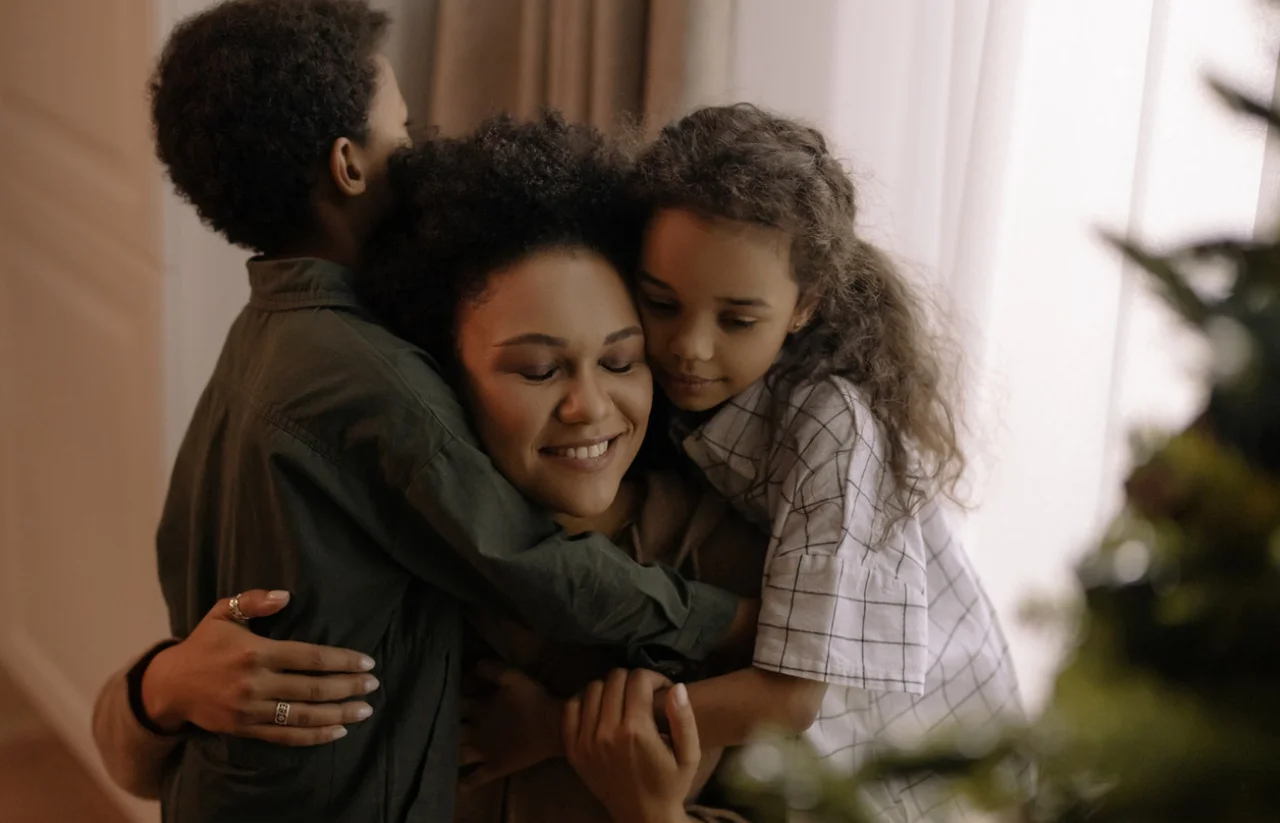
Everyone must be hugging or standing as close as they can to each other. A good test is to see that there is no space between any family members. When families are physically close, it emits warmth and visually shows what families should be like…close.
As a starter, try having people stand at slight angles with shoulders overlapping. Avoid making them hug in a straight line – squishing faces, natural smiles, and clumsiness in family photos add an organic look.
For both traditional sitting and standing poses of large families, position the oldest member(s) of the family first – either grandma/grandpa or mom/dad. You don’t want to ask grandma to keep getting up and down. Keep them there. First, get a photo of your grandmom and grandpop. From there, build your poses slowly adding in family members.
Then, add in siblings. Take out, siblings. Add in grandkids. Now add in siblings. Voila. Three poses and grandmom and grandpop didn’t have to hurt themselves moving in the process.

4. Blur out the background
Choose the largest aperture setting you can, while still keeping everyone sharp.
An aperture of f/2.8 might make the trees look silky smooth, but it might make Aunt Nicole at the end of the line look blurry. This is especially a problem when everyone is standing on different focal planes.
The solution is to shoot a few clicks smaller than the lenses’ widest aperture, use the preview screen and zoom button on your camera to make sure everyone is looking good, then adjust and continue. Some photographers even set out cups lengthwise on a picnic table to estimate the distances when you start to lose focus.
5. Looking like a family-clothes edition
Flowy, long dresses look great on all bodies and cameras as well! They don’t restrict your client’s movements either. Avoid extreme colors, prints, and logos. Solid colors can help the viewer focus on the features of the subject. But make sure to use different fabrics when the outfit is one color.
For example, all black or white is a common choice, but if all your fabric textures are matte then it risks looking like a floating head. As such, try to mix up the fabrics, such as shiny black pants mixed with a matte shirt or a black jean vest.
All these different fabrics pick up independently in images and give some separation.
Avoid horizontal stripes as these can make a figure look wider when photographed. Vertical lines make one look slender and tend to follow the curves of a body. Avoid velvet textures as they are difficult to light.
But most important of all is the comfort of the family members in question, everything else can be taken care of.
6. Take photos that stand the test of time
Family photos are to be treasured for years & years.
They usually deck up the halls, and drawing rooms and are there for everyone to see. For that reason, it is best to avoid trendy editing styles and effects. The same goes for trendy clothes as well – off-shoulder, plunging necklines are very trendy right now but years down the lane, they will look dated.
You aim to create timeless images. So stick to classic editing styles and simplicity. This doesn’t mean you can’t get a little creative.
But before finishing the editing, ask yourself if you will like this photo 20 years from now. If the answer is yes, perfect! If not, try to simplify the editing.
7. Burst it out
We all know the terrible feeling when an otherwise perfect picture has to be dashed for a closed eye or a move of the hand.
For that reason, with family photography, don’t put all your eggs in one basket. Taking several photos increases your chances that at least one will have everyone coordinated.
You can set the camera to shoot in burst mode to take a sequence of images, just like in a sporting event. Adjust the shutter speed to avoid unwanted blurriness due to movements. Something around 1/250 s is a good starting point for this type of action.
8. Use the magical hour
The right light can make a huge difference to your photos.
Imagine a warm, natural glow that makes everyone and everything look their best. That’s the magic of golden hour photography.
The golden hour starts roughly one hour after sunrise and one hour before sunset.
To track the golden hour- when does it start or it ends, you can use the golden hour calculator app like The Photographer’s Ephemeris. Or try other apps like Helios Golden Hour (for iOS) and Blue Hour Calculator (for Android)
During the golden hour, sunlight hits the subject from only one side. This results in one side of your subject being shadowed. This is why it is also called split lightning. Shadows add texture and depth to the portrait. They give it a different look than a front light. It also adds a bit of drama. Colors are a strong compositional tool in photography that can be used to convey mood.
One of the main traits of the golden hour is its characteristic color palette: yellows, oranges, and reds. All of these are warm colors (between 1000 and 4000 on the Kelvin color-temperature scale). Warm colors evoke positive feelings such as happiness, excitement, and optimism.
For that reason, images taken during the golden hours have positive energy associated with them. Portraits also benefit from the golden hour because the quality of light makes skin tones look better. The yellow-red hue of the light makes the skin look warmer rather than neutral or cold.

9. Right poses and compositions
You can create compositions with planned poses or in Photoshop.
If you are aiming for the Photoshop version, first, you need a suitable location and lighting.
Find an empty wall and put the models in front of it. They should be looking out of the picture, as you will need side portraits. Take an image of each family member with the same settings and lighting in the same pose. After that, put these faces next to each other in Photoshop.
You can also think of a creative pose that puts the different generations next to each other.
Play with time travel too! Remember Phil’s magical spaghetti bucket over-the-head, photo? He matched his 10-year-old with the pose and expression as a gift for his father.
Similarly, you can take a picture of a father and uncle in their twenties being reenacted by their two sons. To accomplish this, take inspiration from old family photos. Also, try a lower perspective to click different types of photos. You can crouch and point up with your camera.
Tell the parents to stand next to you, holding the child, and have them look at each other. You can play with the focus and have them all in focus or only focus on the child.
10. Make it comfortable, outside
Posing in front of the camera right in the middle of the park or a street can be nerving and downright, awkward for anyone!
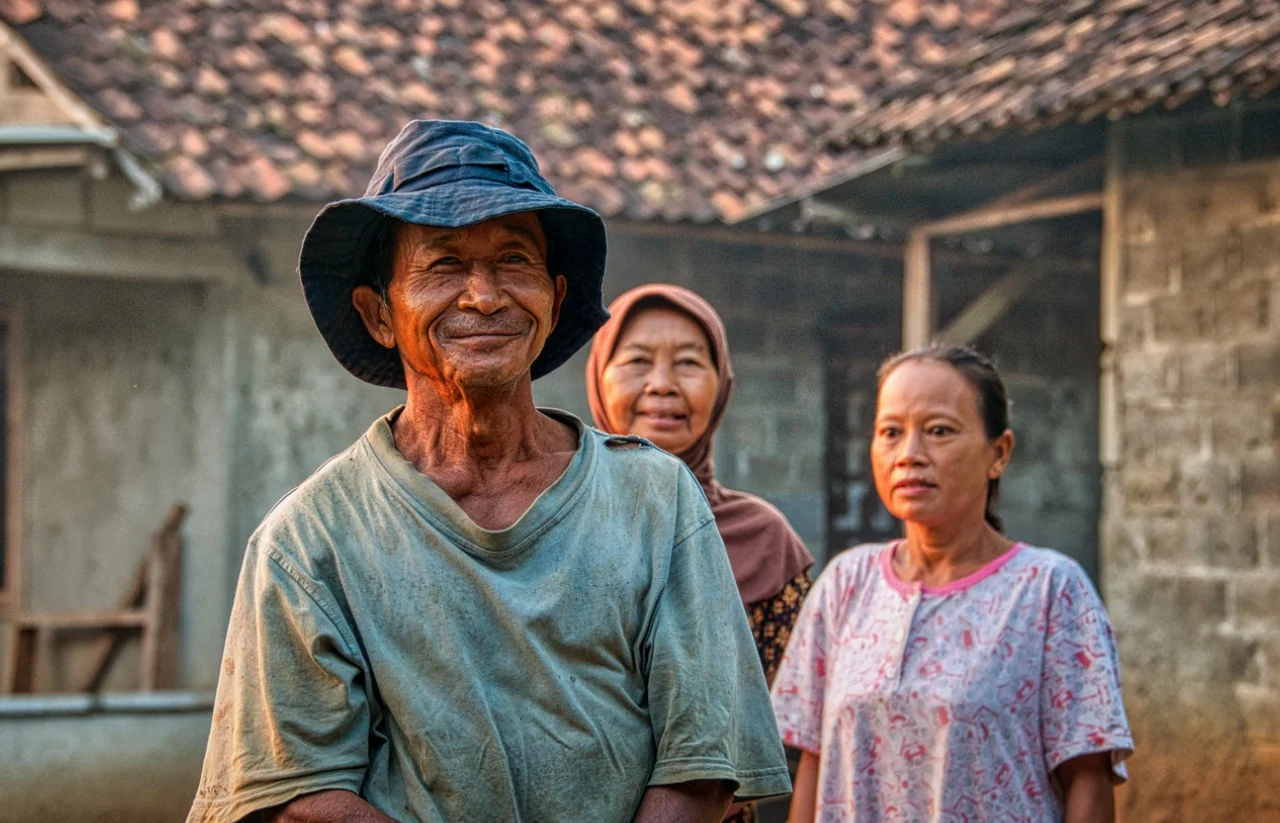
So as a family photographer, you need to help make your clients at ease. Ask them to lean on a tree or a wall, sit on a bench, or even on the floor. Keep an eye out for any natural frames, which will add a bit more to the composition of the image.
Choose a location that is personally important to the family, for example, the place where the couple first met or the park where they used to take the kids when they were little.
Conclusion
With family photo shoots, you need to be equipped with both social and technical skills.
You need some pre-decided poses that will make it a little more efficient for the day planned. You also need to have the right equipment for family photography.
However, above all, you need to make the family feel comfortable enough to express their love for each other. If you keep all these points in mind your family photos will surely become wonderful memories.