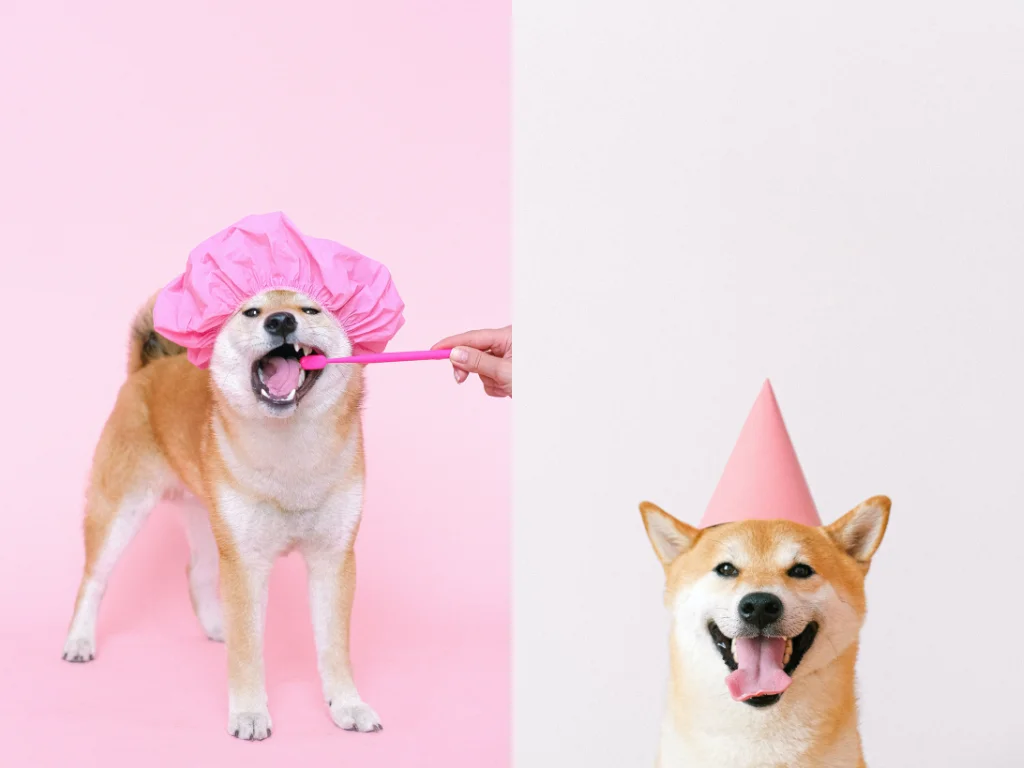


Capturing pets can be tough. They are fidgety, hard to please and their inquisitive nature drives them to come right up to the camera and sniff the lens. You move away and they’ll follow. Sit them in a convenient spot and they’ll bounce back.
This & many other hurdles’ solutions are addressed down below.
Shot thousands of photos?
FilterPixel culls them in minutes using genre-specific AI. Try DeepCull free.
1. Making them sit
If the pet is in a new setting, make sure that it is comfortable with the surroundings. Warming up the pet might take up 30-45 minutes.
For example- Use a squeaky toy to attract their attention. Place it behind the camera so they look in the right direction. Act quickly and make sure you get the shot as soon as you can else they’ll get bored. You could also ask someone else to entertain the pet while you walk around taking the photos. Try to keep the person out of the frame and the shots will be more natural.
It is also important to watch the dog’s body language to know when they are becoming stressed and have lost interest. If the dog is too stressed for photos, it is best to reschedule.
The easiest way for pet photography is to make friends with pets. Maintaining a calm, even energy, speaking in a soft voice, and moving slowly and deliberately enables your subject to relax quicker and realize you are a friend, not foe.
Just like people – some dogs are active in the mornings, while others prefer to be up and about in the afternoons. Speak to the owners of your subject and choose their pet’s optimal activity time for your shoot.
2. Flash (lightning emoji)
Flash photography has its negatives such as harsh light bouncing off shiny fur or the risk of startling your subject or getting nasty red eyes on the shots. Pets’ eyes can also appear bright green when a flash has reflected.
But a flash can help freeze the motion. The key is not to use a direct flash. Ideally, you should use an external hot shoe flash and bounce the light off the ceiling or a wall. Alternatively, you could also buy a diffuser to fit over your pop-up flash, so it’s not quite so harsh. If the flash startles the pet though, avoid using it altogether.
Tip- Give the dog a treat every time you trigger the flash. The dog will then associate the flash with treats!
Natural light is beautiful for pet photography
3. All work & no play make the pet a dull subject
Incorporate some of the pet’s favorite toys. You’ll end up with better photos if your subject is content. If they have fun and enjoy the experience, they will also happily model for you again.
Be warned though– there is such a thing as too much fun! If excitement levels get too high, you risk having an even more over-excited model, so a balance is necessary.

A cage or a lash can be incorporated too!
4. Backgrounds & Setting Apertures
A good background will draw attention to the pet, whereas a bad background will distract the viewer away from it.
Aim for a neutral, clear background. If the background is full of clutter and distracting objects, it is hard for the viewer to give their full attention to the main subject. A good neutral background is a contrasting color to your subject.
It should also be uniform in texture or pattern. Contrast is important so that your pet doesn’t blend into the background. If the background color is similar to your pet, the final image will be flat and uninteresting.
Use a shallow depth of field in outdoor settings where you can’t change the background. This will blur the background and blend away any distracting features. To do this, make sure your camera is in manual or aperture priority mode, and choose a larger or wider aperture size to get a shallower depth of field.
Remember the smaller the f-number, the larger the aperture. So an aperture of f2.8 is much bigger than an aperture of f5.6, and it will give you a much shallower depth of field.
6. Lighting & Exposure
You’re more likely to capture pets at their best when they are in their natural environment. Working in a studio will give you greater control over lighting, but it’s not the best environment for pet photography.
It’s best to work in bright but diffused lighting conditions to capture the most flattering images. Cloudy and misty days give a lovely muted tone to images. Shoot in the hour after sunrise or before sunset–the golden hour–to give your images a lovely warm glow.
It’s best to have the brightest light behind you for the best shots. Light will then fall naturally on your subject: perfect for capturing catchlights in the eyes. Your camera will also track focus better on your subject with the light behind you, rather than behind the subject. Avoid shooting in the harsh light of the midday sun, as this will result in harsh, unwanted shadows on your shots
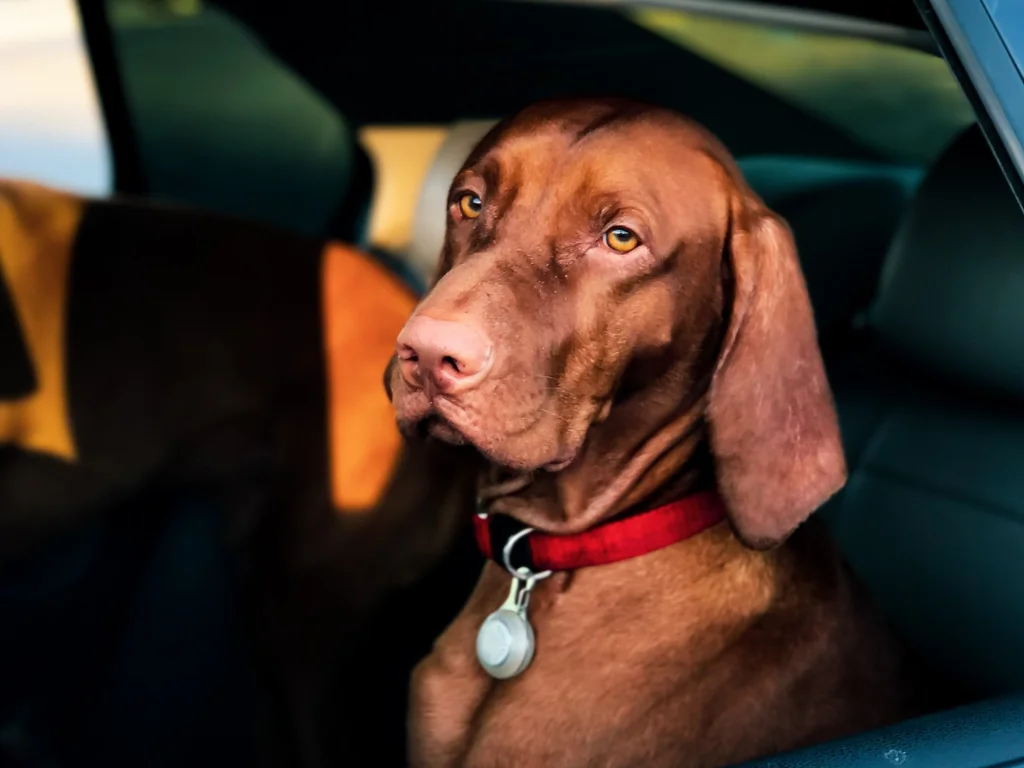
If your subject is happiest at home, use that as the backdrop and make good use of window light. Take care when photographing an animal with dark or light fur as their coats can fool your camera’s meter.
A pet with a white coat can end up looking dull as the camera thinks the scene is too bright while a pet with a black coat can end up looking grey due to the camera thinking the scene is darker than it is. If you find this to be a problem just use exposure compensation to use a + or – exposure depending on your circumstances.
7. Bringing out their character & capturing sleeping pets
Have several signature shots ready in your head. With dogs, you can try- a half-face, a zen dog (eyes closed), a high five, one looking down, and a big smile, to name a few.
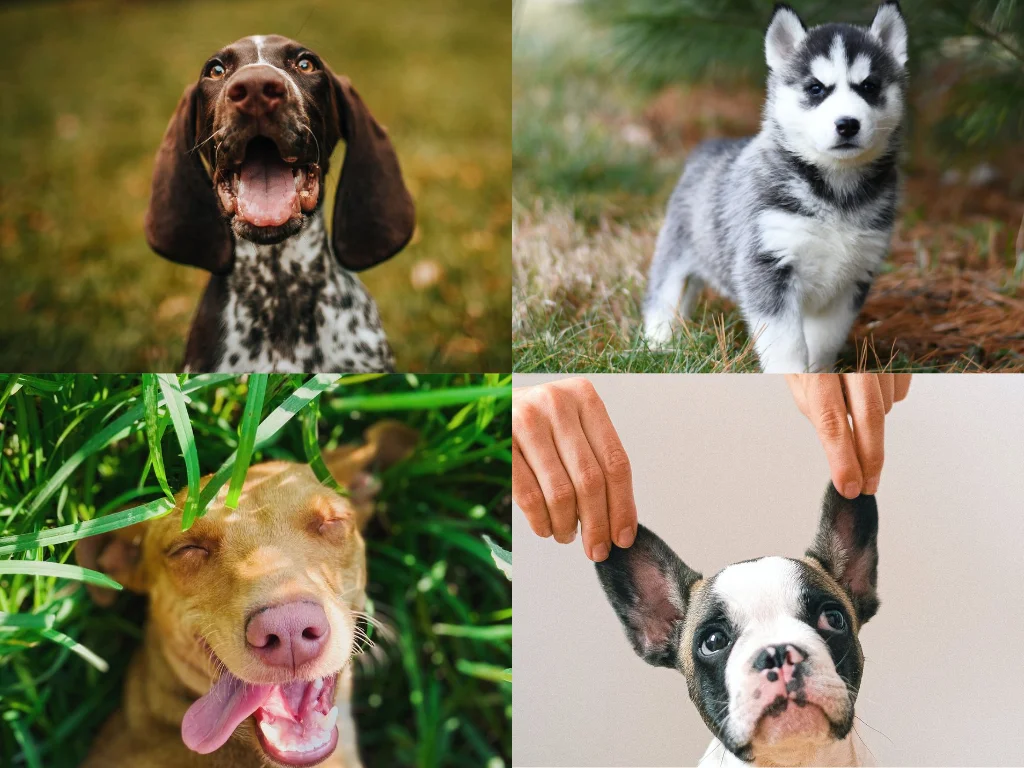
If a dog repeats a behavior or poses several times, chances are it does the same thing at home too and this is something the owners will connect with, in a photograph.
Naptime is one of those rare times when they are likely to stay still for your shot. Make sure to move slowly so as not to disturb the animal. Turn off unnecessary camera noises, such as shutter sound. Pets have sensitive hearing so beeps or other noises could disturb them. Closed eyes convey a wonderful sense of peace and calm.

8. In Action
Many pets don’t stay still for long, but you can use this to your advantage to capture some great action images.
But beware: fast-moving pets present challenges relating to focus, timing, and at worst, possible collision scenarios!
The key to capturing good action shots is speed. Everything happens so fast, the perfect moment is often over before you realize it. Use your camera’s burst mode, to capture multiple shots in quick succession. Use high shutter speed to freeze the action and you can review the images later to pick the best.

9. It’s the details
Macro photography, the term used for close-up shots, enables the small things to appear larger than life-size. Use a long lens and fill the frame with a close-up of your furry friend’s fur, paw print, or something unique to them.
A good time to do macro shots is when your pet is asleep or in his most relaxed state. Maybe it’s a distinct pattern in his fur, a marking on his nose, or the detail of his paw – it’s these smaller specifics that spark visual interest with the magic of going macro.

10. Of different Kinds
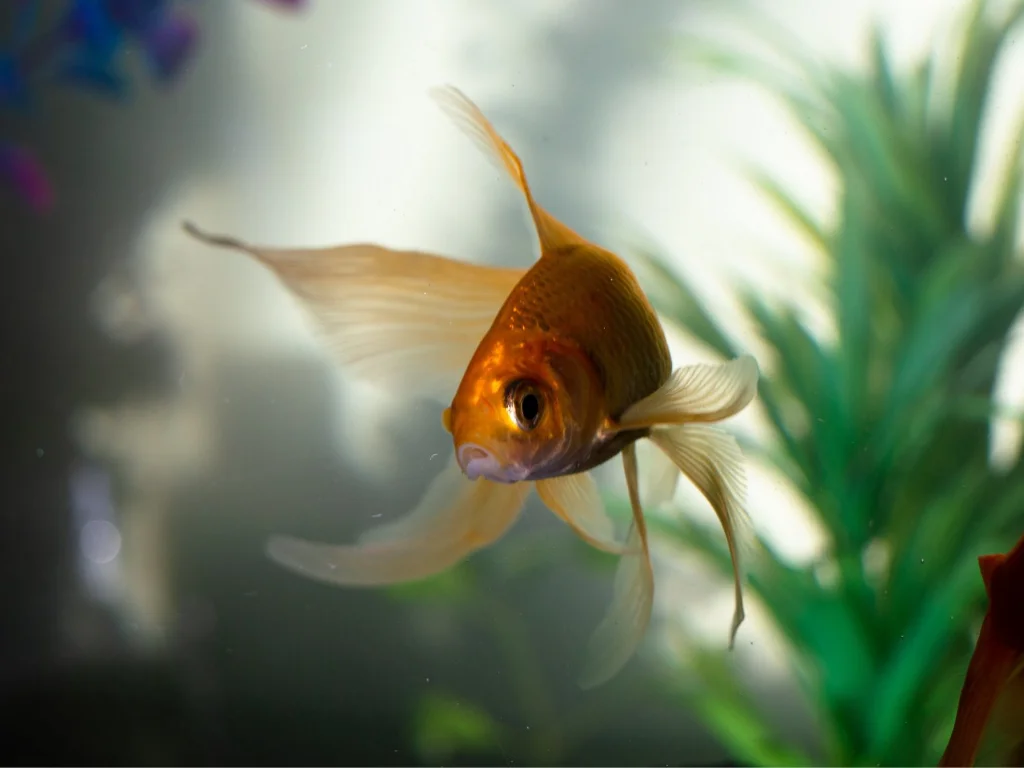
Fishes
If the fish is in a tank, move up close to the glass to avoid reflections and use the natural light to take the photo. In daylight, the shots will come out okay but shooting under the light illuminates the tank and you’ll get a color cast. A polarizing filter will help prevent reflections.
Attach it to the camera and rotate until the reflections are minimized and then take the photo. You may find shooting from an angle to the glass will work best.
Fish in outdoor ponds can benefit from the use of a polariser too. Take them when they are near to the surface – feeding time is ideal, and use the polariser to kill the reflections. Shoot from an angle to allow some depth to the fish. Even in summer, the darkness of the water will make the shutter speed quite slow so shoot when the fish are still and hold the camera very steady to prevent camera shake when working hand-held.
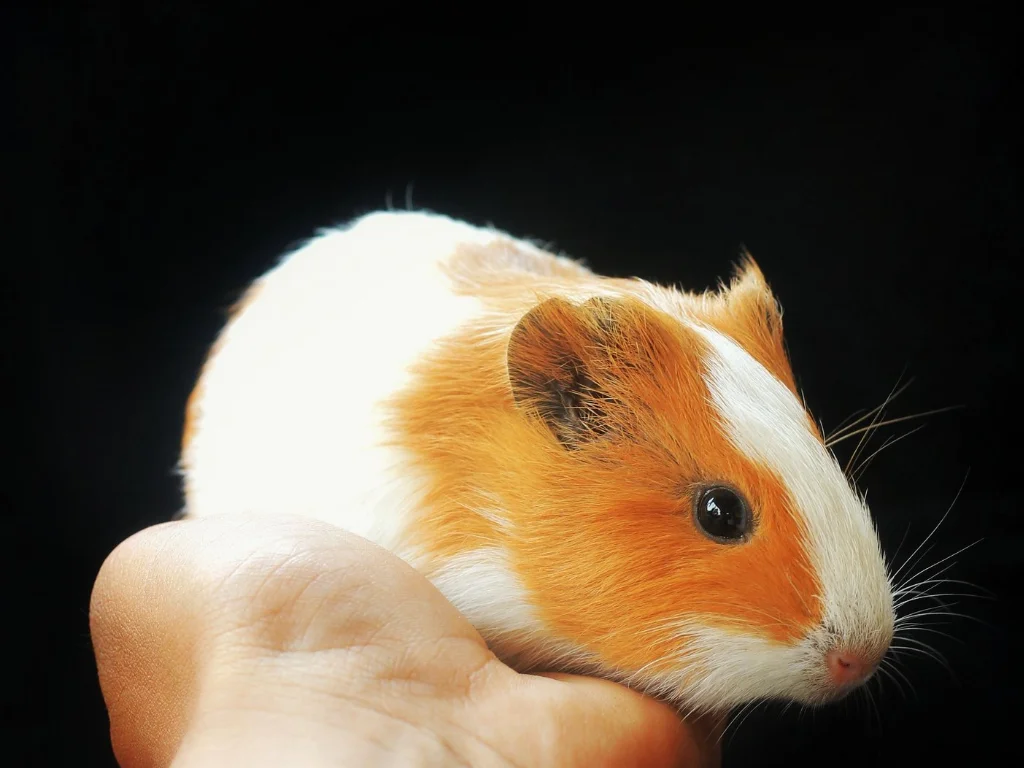
Smaller Pets
Like hamsters, guinea pigs, and mice who are all cage-based and eager to bury themselves in straw. The main problem with these pets is one, getting close enough and two, avoiding a picture framed with bars.
A good option is to photograph the creature in someone’s hand, which gets over the cage problem. Then you need a lens that will go close enough so you can fill the frame with the animal.
You can also move close to the cage and use a wider aperture to throw the bars out of focus or just shoot through the cage with the door open. Try experimenting with slow speeds- of a hamster running on a wheel as you may be able to get the legs blurred and the head sharp, giving a great sense of movement. A shutter speed of around 1/8th sec will be ideal.
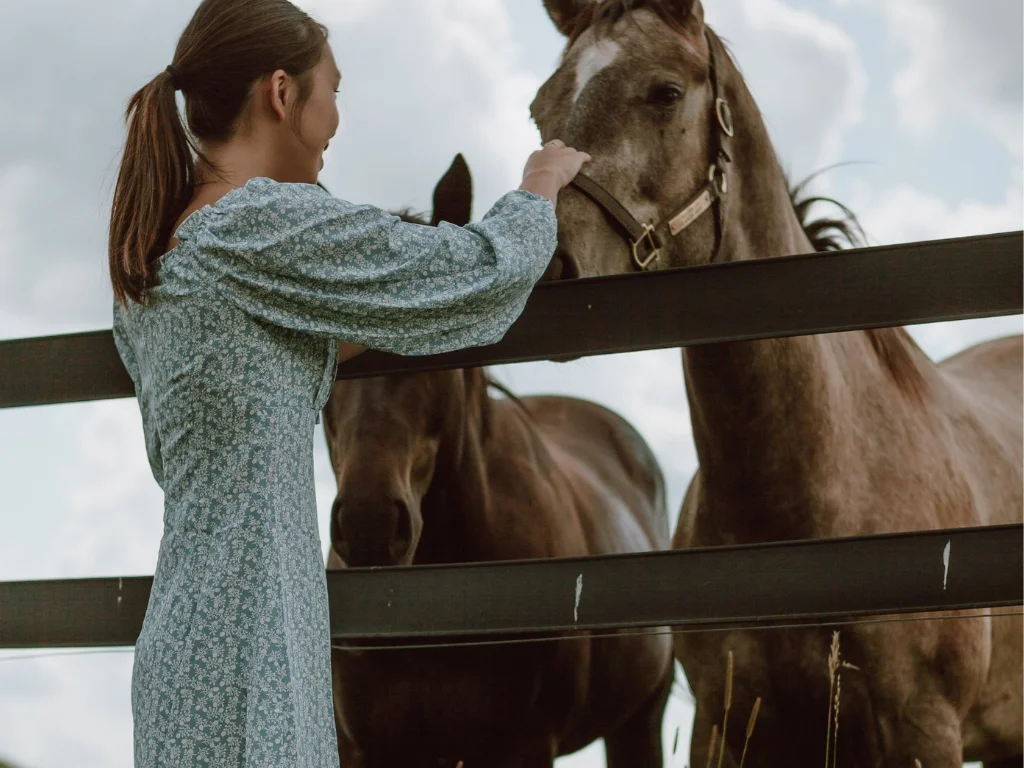
Horses
Begin by getting comfortable with the horse but ensure your safety too. Burst mode and continuous focus are easier to work with horses. Avoid flash usage as it will scare the horse.
Capture detailed shots and choose a proper background. Try out action photos for diverse results.
12. See them eye to eye
Get down to the floor or lie on your belly to meet your pet’s level. This will make it a lot more personal.
Conclusion
With pet photography, it’s important to be patient and with time, you’ll gain expertise in this field.
After you have mastered how to capture the furry friends, make sure to check out our next blog on “Dos and Dont’s of Family Photography” from our family photography series.
-Jun-19-2026-12-08-11-9138-PM.png)
-2.png)