


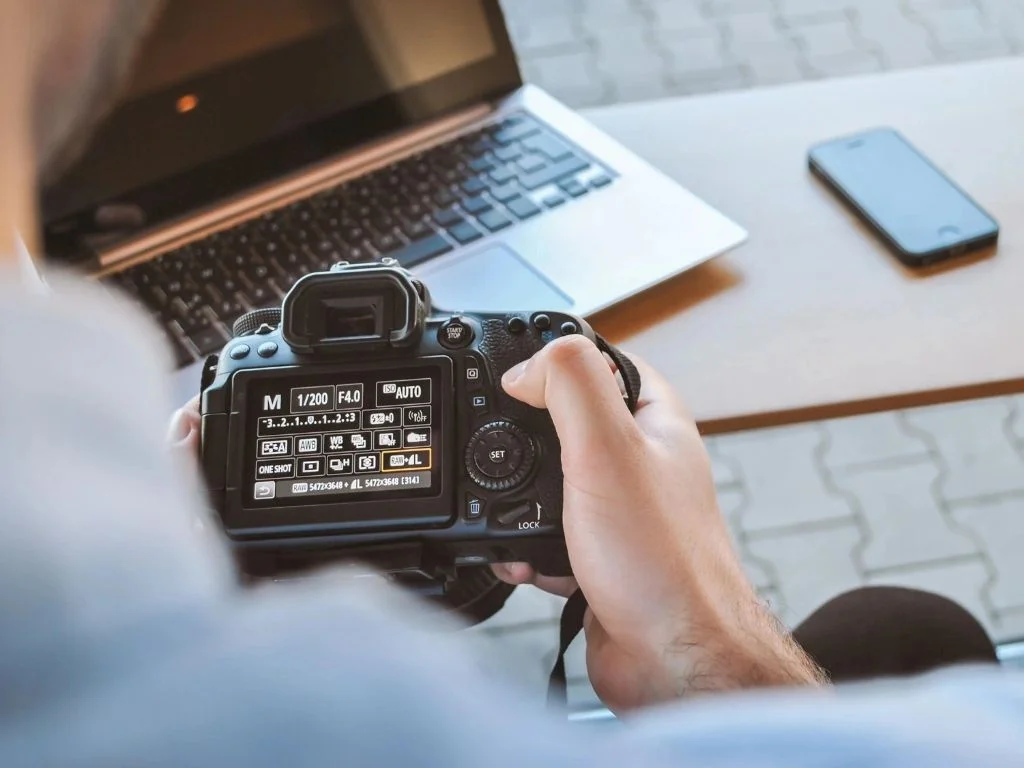
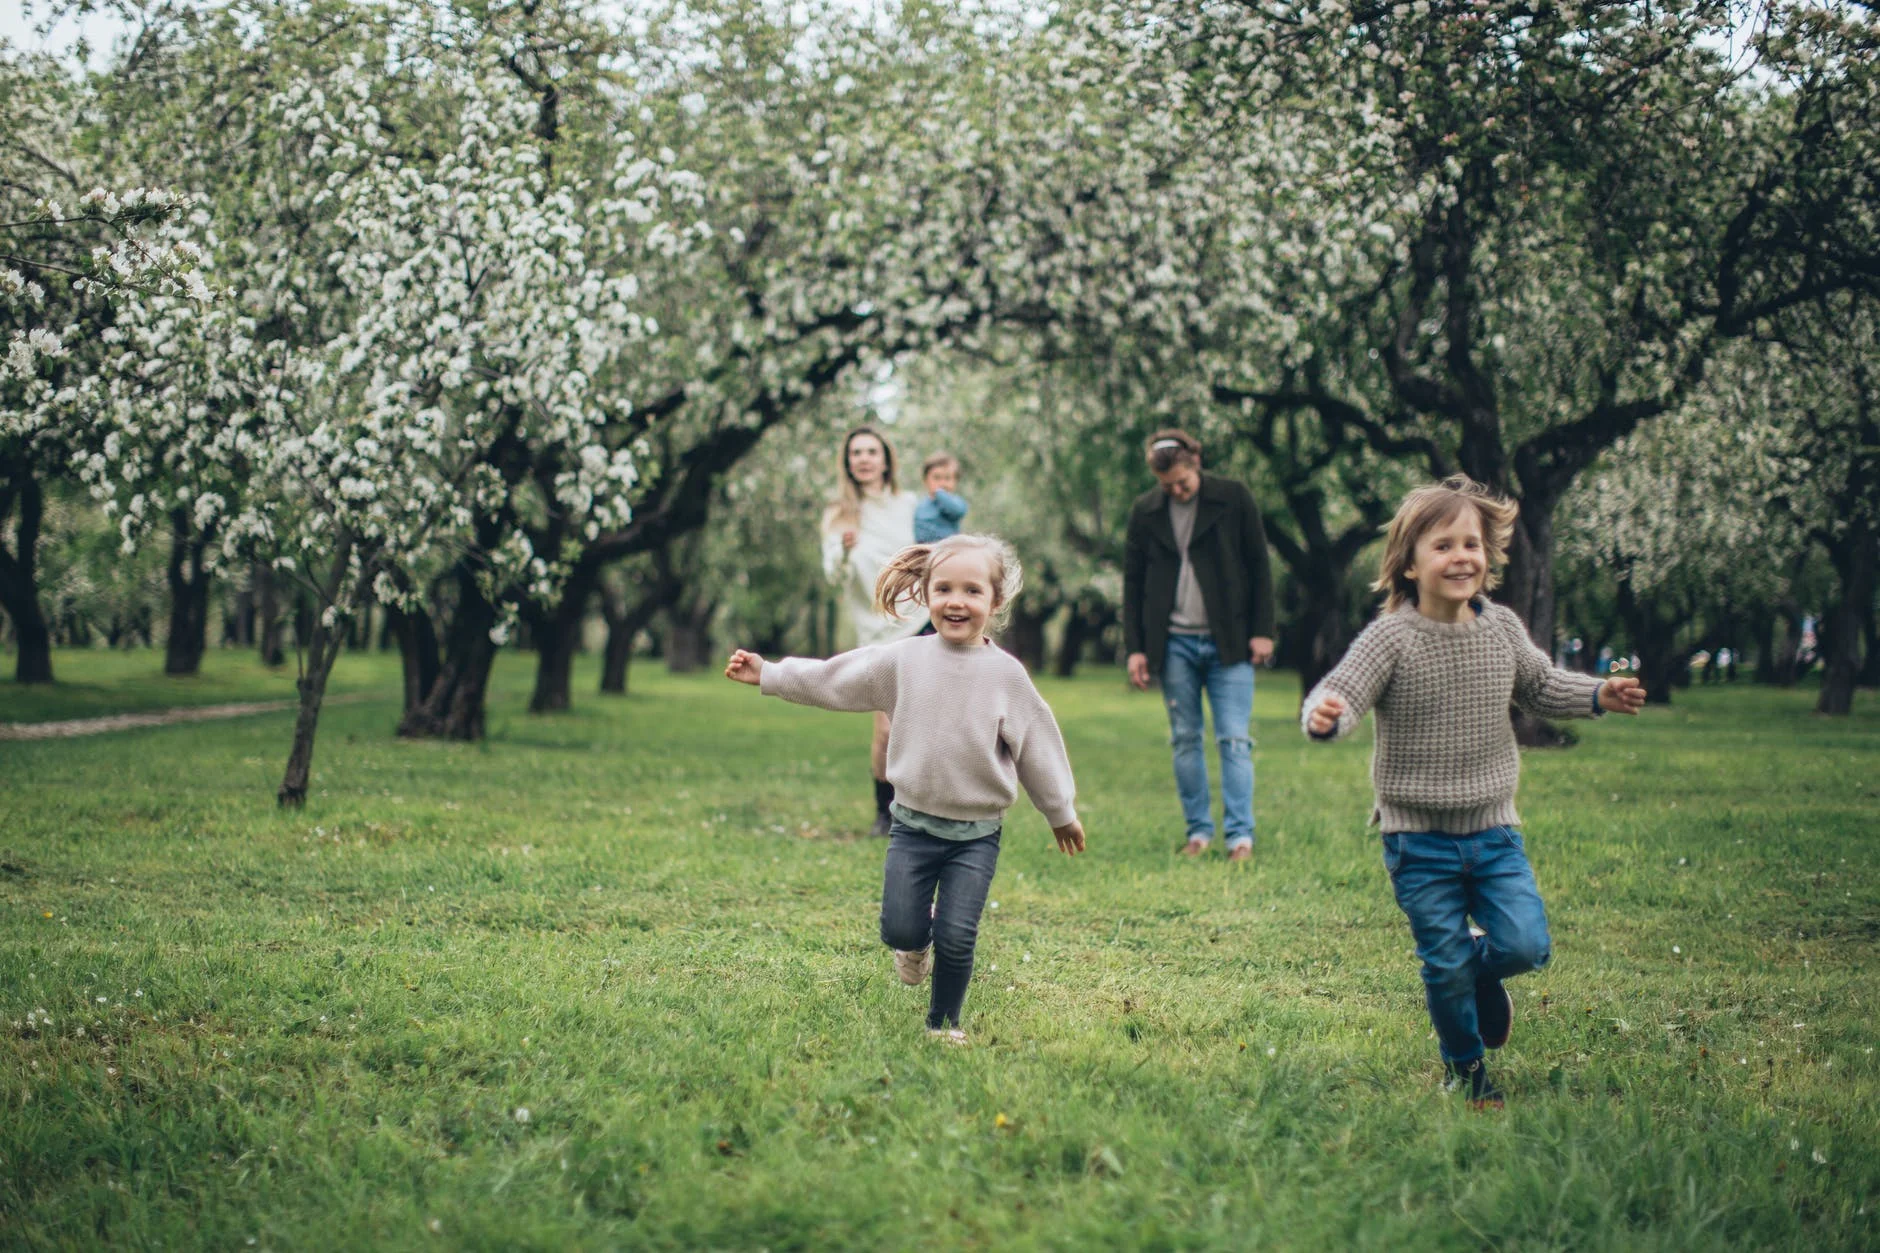
Understanding how camera settings work is important if you want to shoot properly exposed photos. If you are all set with your equipment, it is now time to put them to good use with the best camera settings for taking family portraits.
Picking the best gear for family photography and not using the right settings will still result in low-quality work such as over- or underexposed, grainy, or simply out-of-focus photos.
Shot thousands of photos?
FilterPixel culls them in minutes using genre-specific AI. Try DeepCull free.
To make sure you are not making any of these mistakes, let’s look at choosing the right camera settings for family photography.
We have broken down the following settings to get your camera ready for shooting family portraits:
- Shooting Mode For Your Camera
- Focus Settings
- Metering Mode
- ISO
- Shutter Speed
- Aperture
Best Shooting Mode for family Photography
As a professional photographer, you would want to have full control of your camera in your hands and not have the camera change the settings for you. Hence, a lot of family photographers suggest having their shooting modes set to Manual mode.
Aperture priority mode is another mode that many family photographers can make use of by giving some control such as shutter speed to the camera while having aperture settings in your control. Control over the shutter speed is not much needed when we have a still subject such as a couple posing and you can focus on getting a good depth of field with the aperture priority mode.
If you are shooting in manual, I would recommend having a tripod with you. As it normally takes time to adjust the manual settings, and since you have time, you may as well take their photos on a tripod to set everything right.
Bonus tip: Use a timer to avoid shaking the camera while shooting at a slow shutter speed
Best Focus settings for family photography
Focus area modes
Understanding camera focus modes will increase your chances of getting a nicely focused family portrait, irrespective of their movement or background.
Firstly you need to understand that while clicking portraits, you need to keep the focus area on the eyes as the eyes are the most important element of a portrait.
In the latest camera models (mostly mirrorless), there is support for the AF Eye system which, as the name suggests, is made for detecting the eyes of the subjects automatically and focusing on them resulting in sharp portraits.
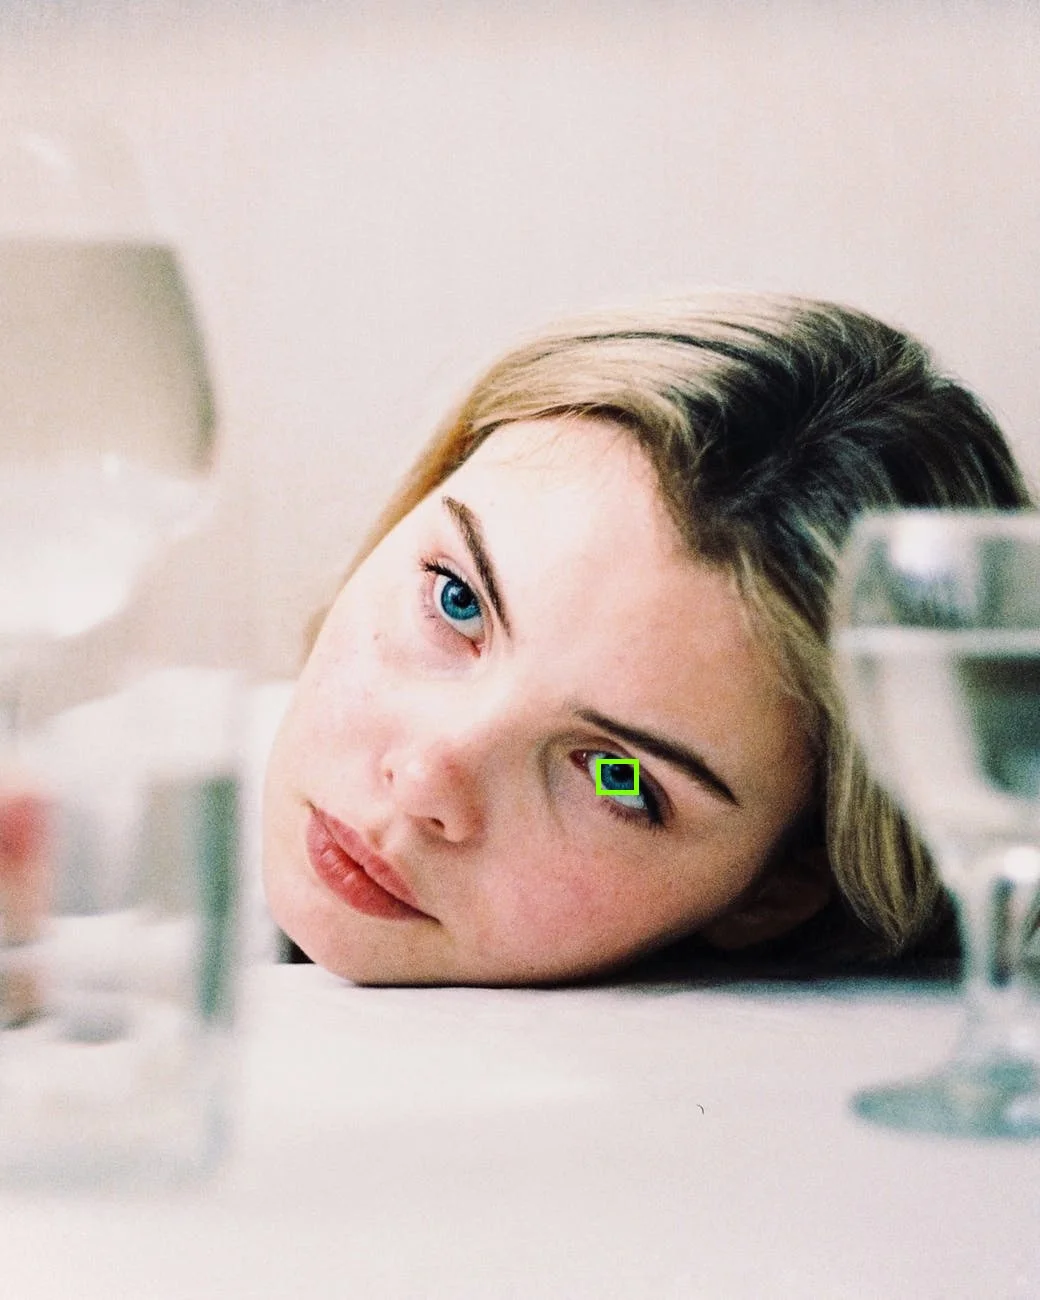
If there is no support for AF eye, your best bet is the Single Spot area which you will have to manually place on the closest eye to get sharp photos. I would not recommend using any other autofocus modes as they might focus on something else other than the eyes.
Autofocus Settings
There are basically two Autofocus settings, AF-S (Single) and AF-C (continuous or servo mode). Now as a family photographer, you may want to have the autofocus use the AF-S for the portraits and not AF-C which is used to track the movement of the subject while keeping it in focus.
But AF-C might come in handy while shooting kids so to switch fastly between them – learn how to set up your camera to do Back Button Focus from here.
It helps you to remove the function of autofocus from the shutter release button and re-assign it to one on the back of the camera so you can switch between them back and forth with a press of a button. Pretty handy, right?
Best Metering Mode for family photography
If you mostly keep the family or the subject in the middle of your frame or keep the frame filled with your subject, you can go for centered weighting mode as it will allow you to expose the family properly.
Or else, spot metering is great for portraits as well because it keeps the exposure accurate around the focus points. So if you have focused on your subject properly, that area will be exposed properly as well.
Best ISO for family photography
For family photographers working in natural light, this is a no-brainer. The base ISO of your camera or 100 is the best to work with when there is no scarcity of light. Keeping it at the base level untouched will result in beautiful images with no grains.
If by any chance, it gets cloudy outside and you can’t shift the date, feel free to dial the ISO up to 400.
For indoors you might have to dial it even more if there is less light, up to 800-1000 resulting in grainy photos.
Although some high-end cameras can shoot images even at a high ISO without any noise, it is better to balance it with a slower shutter speed or wider aperture.
For instance, if there are kids indoors who won’t sit idle, you will have to try to balance the light inside by using OCF so you can capture them at high shutter speed with low ISO.
Right ISO For Flash Portraits
When using flash, the rules for ISO are the same as natural light. Start with the base ISO of 100 for your camera to avoid grain. You should only raise the ISO when Aperture and Shutter speed can not be compromised in the given situation.
Best minimum shutter speed for family photography
Looking at the rule of thumb, which states that you should keep the shutter speed inversely proportional to the focal length you’re shooting in.
For example, if you’re shooting at 55 mm focal length, keep 1/55th as the minimum baseline.
Now for a lot of people with shaky hands, this guideline still results in blurry photos.
For family photographers working with kids that are not taking posed photos, I would suggest keeping the shutter speed at 1/250 to 1/400th of a second when shooting handheld to freeze them in your frame.
Such shutter speed will force you to keep a wide aperture to compensate for more light in the sensor in order to keep the photo properly exposed.
In such scenarios with low light situations, the prime lenses work better as they have a fixed focal length that can capture photos with wider aperture and fast shutter speeds.
Shutter Speed for Flash Portraits
When shooting with a flash, the shutter speed is not very important. Simply set the shutter speed to the flash sync speed, which is commonly 1/200th – 1/250th of a second.
This is the highest sync speed at which the shutter is open in sync with the flash.
Best Aperture for family photography
For family portraits, this generally depends on the family photographer and how much he wants the background details to be visible in the frame.
If you want to keep your subject sharp and get those bokeh spots in the background, a wide aperture of f/2.8 will do the trick. With a big family or a group portrait, you will have to narrow down this number to f/5.8 or more to keep everyone in focus.

As a family photographer, you will need to calculate which aperture is working best for the family you are shooting with, according to their size and location.
If you are shooting it at a narrow aperture, you will get more background details but the overall sharpness of the subject will be less.
Aperture for Flash Portraits
When shooting with a flash, the family photographer can set the aperture according to the depth of field considerations. As flash provides a good amount of light, you can go with a narrower aperture than usual to get the background but try not to go too narrow.
Conclusion
I hope these settings will help you utilize your camera to its best potential and give you no issues in capturing beautiful family portraits.
After you have mastered all the camera settings for portraits, make sure to check out our next blog on “Do’s and Dont’s of Family Photography” from our Ultimate Family Photography Guide.
.png)