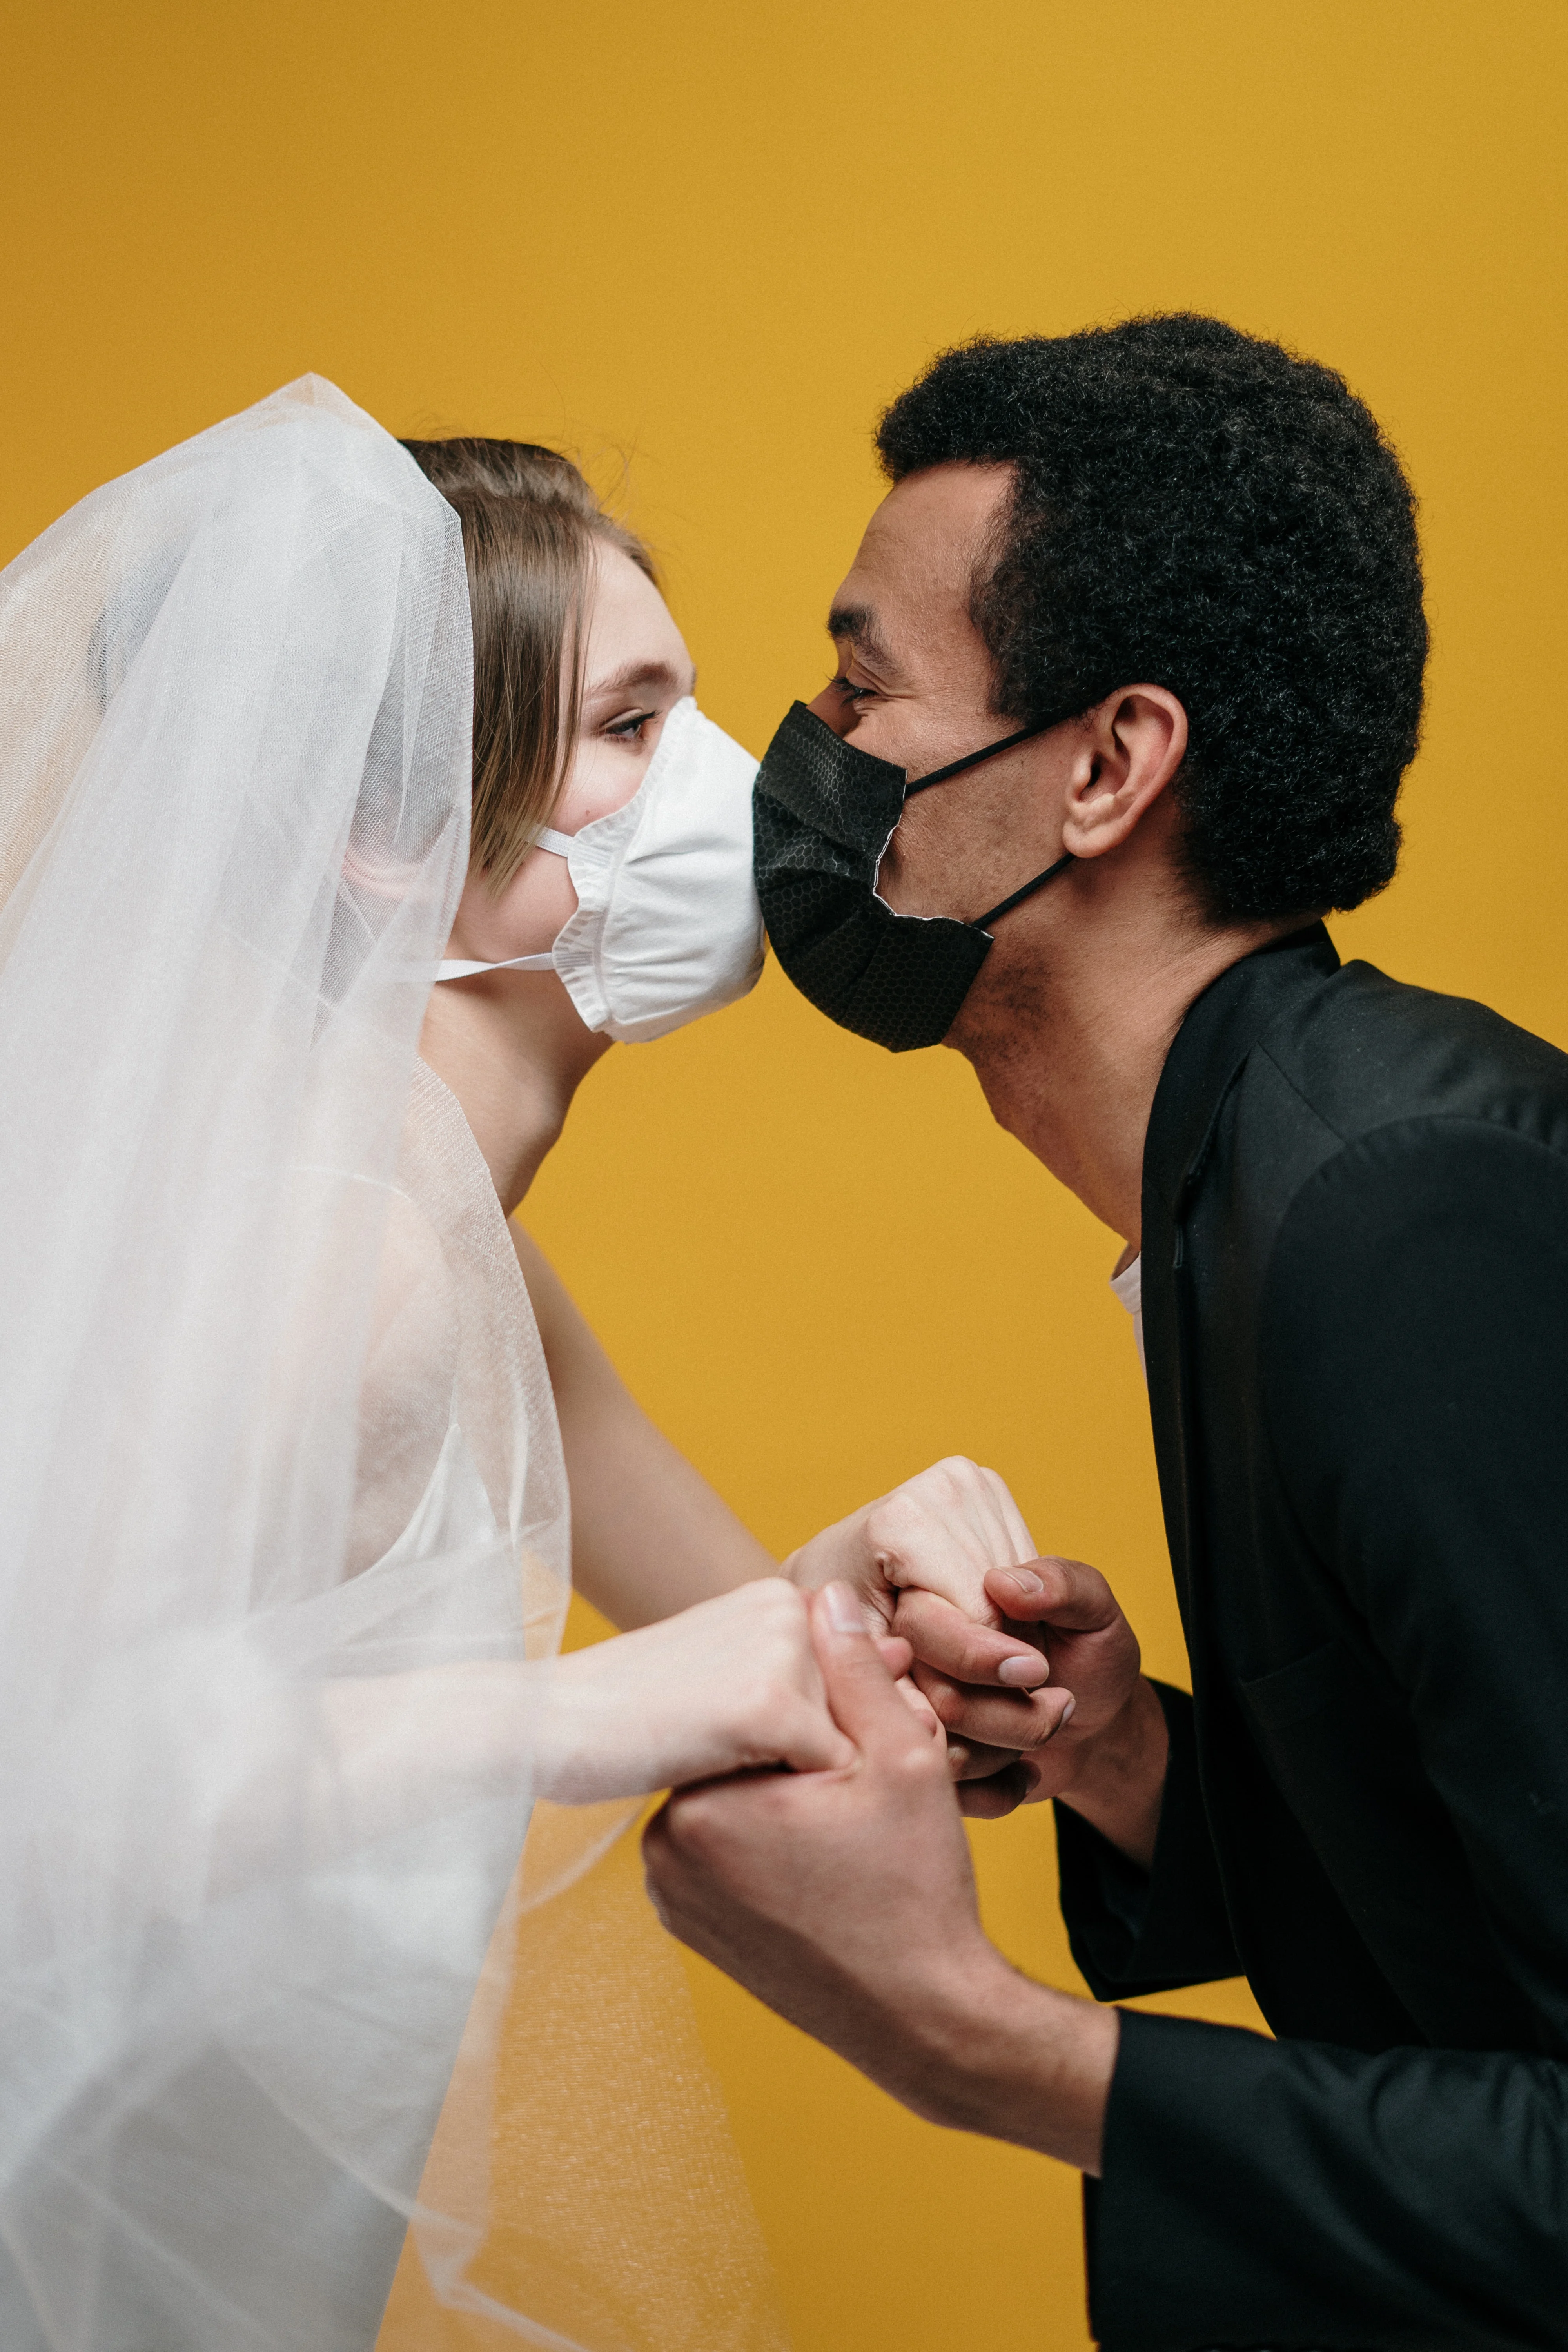
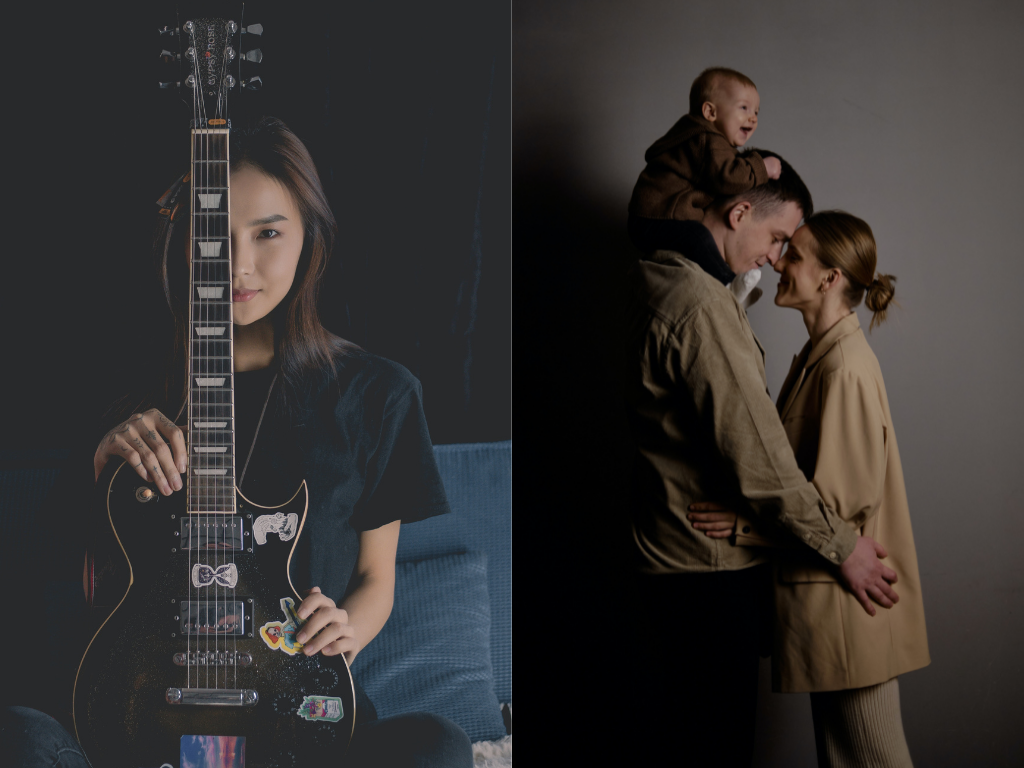
“A portrait is not made in the camera but on either side of it.” Edward Steichen
But what exactly happens “on either side of the camera” to create that perfect portrait? How are photographers able to break down people’s walls and allow them to reveal their genuine & most authentic selves?
Below is a curated list of rules & insights that will help you achieve the same.
1. Confidence is key
Take a genuine interest in your subjects, they will sense it and open up to you and allow you to capture an authentic portrait. Many people are self-conscious in front of the camera, and a compliment can help.
Pay attention to them. A subject can quickly lose energy and enthusiasm for the shoot if they notice the photographer spending a lot of time fiddling with their camera while they wait around. Do everything you can to make the subjects feel comfortable.
Ideally, a photoshoot should be fun for all participants—not just a routine job. It’s also extremely important that the story, the models, the clothes, and the location all work together. If even one small detail feels out of place, otherwise the good photo will be ruined.
For children’s portrait photography, get down to their level and talk to them gently. Encourage them to play and forget about the camera.
If possible ask your subject to wear neutral colors – preferably dark colors – because this helps your subject’s face stand out better. Check your subject over for anything that might be distracting such as fluff on clothes, uneven buttons, zips, etc
Tip- For natural-looking family portraits “keep your subjects moving.”
Having your subject stay in one pose for several minutes will get you frozen, and unnatural-looking expressions. Communicate with them, make jokes, and let them roll.
2. Lighting
The camera flash is an essential feature that brings light into your photos, but it doesn’t always yield ideal results. For eg Flash, when used in a close-up headshot, can make a subject’s face appear washed out.
Using flashes can enhance a photo in some respects, but when it comes to creating authentic images, artificial light is not your friend. Off-camera flash is useful for changing the lighting conditions to enhance contrast and control the shadows in your portraits, making them more visually interesting.
While natural light can be great for outdoor family portrait photography, direct sunlight can sometimes be overpowering. It produces harsh shadows and can make your subject squint. Choose mornings or late afternoons when the sunlight gets diffused, and you get a lovely, warm, natural glow.
Make use of external strobe lighting to underexpose the available light and use your own to create the perfectly lit shot. It is best to avoid artificial lighting in outdoor settings. If you still feel the need to add some light, use reflectors to give the same light temperature as natural light.

3. Longer Lenses & Apertures
Use a longer lens, like one in the 85mm to 200mm range, to produce better image compression without distorting the pixels.
A longer focal length can bring your background closer to your subject, increasing the bokeh (background blur), and creating a more dynamic image. It can help blur the objects in front, centering the focus on your subjects, and adding an interesting aesthetic component to your shot.
Using a longer zoom lens will help you step out of the immediate proximity of your subjects and help them lose the shyness or stiffness of being photographed. A wide aperture will produce a shallow depth of field, blurring the background and making your subject the main focus.
However, if you have more than one subject (like a family portrait), a smaller aperture will keep everyone in focus.

4. Break the rules
Bring a new perspective to your photos by breaking the rule of thirds and shooting at angles that aren’t so neatly composed, or even at your subject’s eye level.
Try taking shots at different angles and distances around your subject. Shoot from an aerial viewpoint or the side, change up your subject’s poses, or even try a candid shot to figure out the most flattering angle for their portrait.

5. Prop it up!
Shoot through objects in your foreground, like foliage or architecture, for a more dynamic element to your composition.
Shooting through transparent objects can produce unique patterns or reflections while shooting through something like a fence can provide interesting framing around your subject. Capture your subject through store windows or between branches to give life to portraits.
6. Use Gels.
Gels help change the mood or alter the color temperature of your portraiture.
If your photoshoot is producing unnatural skin tones or odd color casts, you may have to adjust your light temperatures.
If you’re shooting on an overcast day, you might want a color temperature orange (CTO) gel to make the environment warmer. Conversely, if your images appear too warm, you might want to apply a color temperature blue (CTB) gel to cool it down.
7. Editing and post-processing.
Retouching and enhancing your photos with editing software helps give the scene the final look it needs.
Whether you need to crop an unwanted edge, lighten a distracting shadow, or tweak the background of your shot, become familiar with editing programs and their functions to bring your portrait photography to the next level.
8. Save your best ideas
Keep a gallery of creative family portrait photography shots on your mobile phone.
It would help you in figuring out various options that can work in the shoot right there and then. Showing a visual example to the client would also help communicate better to them.
9. Making use of Backgrounds
A busy or distracting background will take attention away from the person in your photo. Usually, for portrait photography a neutral, plain background that won’t distract the viewer from your portrait subject is ideal.
You don’t have to choose a completely plain background. For instance, an interesting wall or fence could provide a wonderful pop of color or texture.
Include an object in the background to provide added interest or context. For example, a fisherman in front of a boat or a musician in front of her guitar.

10. Eyes are the window to the soul
Keep the eyes in sharp focus. This improves the sense of eye contact between the subject and viewer, creating a powerful and engaging photo. So, when shooting portraits, especially with a shallow depth of field, make sure you set your focus point carefully.
Your camera most likely has several Autofocus / AF points which are visible in the viewfinder. Select the central AF point using the AF option in your camera, then position the central focus point directly over one of the subject’s eyes.
Now half-press the camera’s shutter button to lock focus. If necessary, move the camera to recompose your shot for the best composition, then press the shutter button down to take the shot.
If recomposing, ensure you don’t change the distance between the camera and the subject otherwise the eye will no longer be in focus. Many cameras offer the ability to magnify the scene in the viewfinder which is invaluable for checking focus before shooting.
To make your subject’s eyes “pop”, simply ensure your light source is reflecting in your subject’s eyes. These reflections are called “catchlights” and they’re extremely effective at turning a boring portrait into something really special. For maximum effect, have only one catchlight per eye and aim to have them nearer the top of the eye.

11. Focus on one part of the whole
Use a long lens (100mm+ range), then zoom in to capture some detailed shots. For instance, your subject’s hands, eyes, mouth, or clothing, all of which can tell an interesting story and these results can turn out very eye-catching.
With a macro lens, you can focus on tiny details, such as the curl of your subject’s hand or the light on their hair.

Conclusion
Capturing stunning family portraits doesn’t have to be hard when you remember these tips.
So get out there, photograph some families, and have fun!
To learn more about improving your family photography skills, check out our series for Family Photography.