


One of life’s most spectacular and joyful experiences is welcoming a new baby into the family!
The days of a newborn are both precious and fleeting, and it is important to preserve all of the new infant’s precious details while they are still little.
Shot thousands of photos?
FilterPixel culls them in minutes using genre-specific AI. Try DeepCull free.
In this blog, we have created some suggestions and ideas to assist newborn photographers like you, in capturing the most adorable newborn photographs.
1. Safety, First!
Use beanbags for posing babies, as they can’t hold their heads in a particular way, and never place a baby inside a prop that could endanger the baby. Also, make sure there are no backgrounds, lights, or cables around that could be hazardous.
All surfaces where the infant is posing should be cleaned and sanitized. Keep in mind that a newborn’s immune system is still developing. It’s preferable to reschedule the shoot if you suspect you’re going to get sick.
If this is your first time photographing a newborn, stick to poses that the baby can hold on their own. These shots are still beautiful & risk-free. Once you’ve honed your skills with newborns and learned the tricks behind some of those iconic but unnatural poses, you’ll be ready to tackle the trickier shots.

2. Movie-babies
Ideally, you would want to take newborn photos between 7-14 days after they are born. That’s when babies are most likely to fall asleep in that adorable little basket.
Of course, you can take photos after two weeks, but you’ll have to work harder to get that sleepy baby shot. Babies who are alert and awake are also more likely to wriggle out of a swaddle & difficult to pose.

3. Baby-friendly
Everything is new to a newborn, and if you want the baby to keep snoozing while the lights change, the camera makes noises, and the props are adjusted, you’ll need to do some planning. Work to create a warm environment with a consistent noise level before you shoot.
Bring a small space heater to warm up the area before shooting newborn photos. If the temperature is comfortable, the baby is less likely to fuss.
Soft, consistent noise helps babies stay calmer for longer periods. If there is already some noise in the room, the baby will be less likely to react to any noises you make during the shoot. You can play quiet lullabies or download a white noise track or app on your phone during the shoot.
4. Lighting
Have baby-safe lighting. The majority of professionals only use natural lighting. This look complements the mood of the images nicely. You can accomplish a lot with some lovely filtered light. Speed lights and strobes can be used in a studio session, but they must be external. To make the light as mellow as possible, bounce it or use large diffusers.
It’s best to avoid pop-up flashes and on-camera setups as newborns’ eyes are sensitive, and you don’t want to wake them up if they’re sleeping.
5. Wrap the baby

Have skin-toned and neutral-colored wrap on hand as they give you options that go well with whatever the parents choose to wear. Once you have a good collection of wraps and other basics like headbands, branch out.
Practice different wrapping techniques on a doll before your photoshoot. It doesn’t always have to be a tight swaddle you would probably do for when they are sleeping. You can tuck the cloth around them to avoid moving the baby too much.
Regardless of how you dress the newborn, make sure you have something comfortable for the baby to rest on during the shoot like a bean bag, pillow, or cushion.
6. As Parents
Keep the parents in confidence that you are taking the best measures to keep the shoots as safe as they can be. Nervousness on parents’ faces can make the babies anxious too.
Involve the parents in the newborn photography process, whether it is a finger that wants to curl under or a foot that wants to pop out, holding the newborn in place will greatly comfort them and bring the pose to perfection.
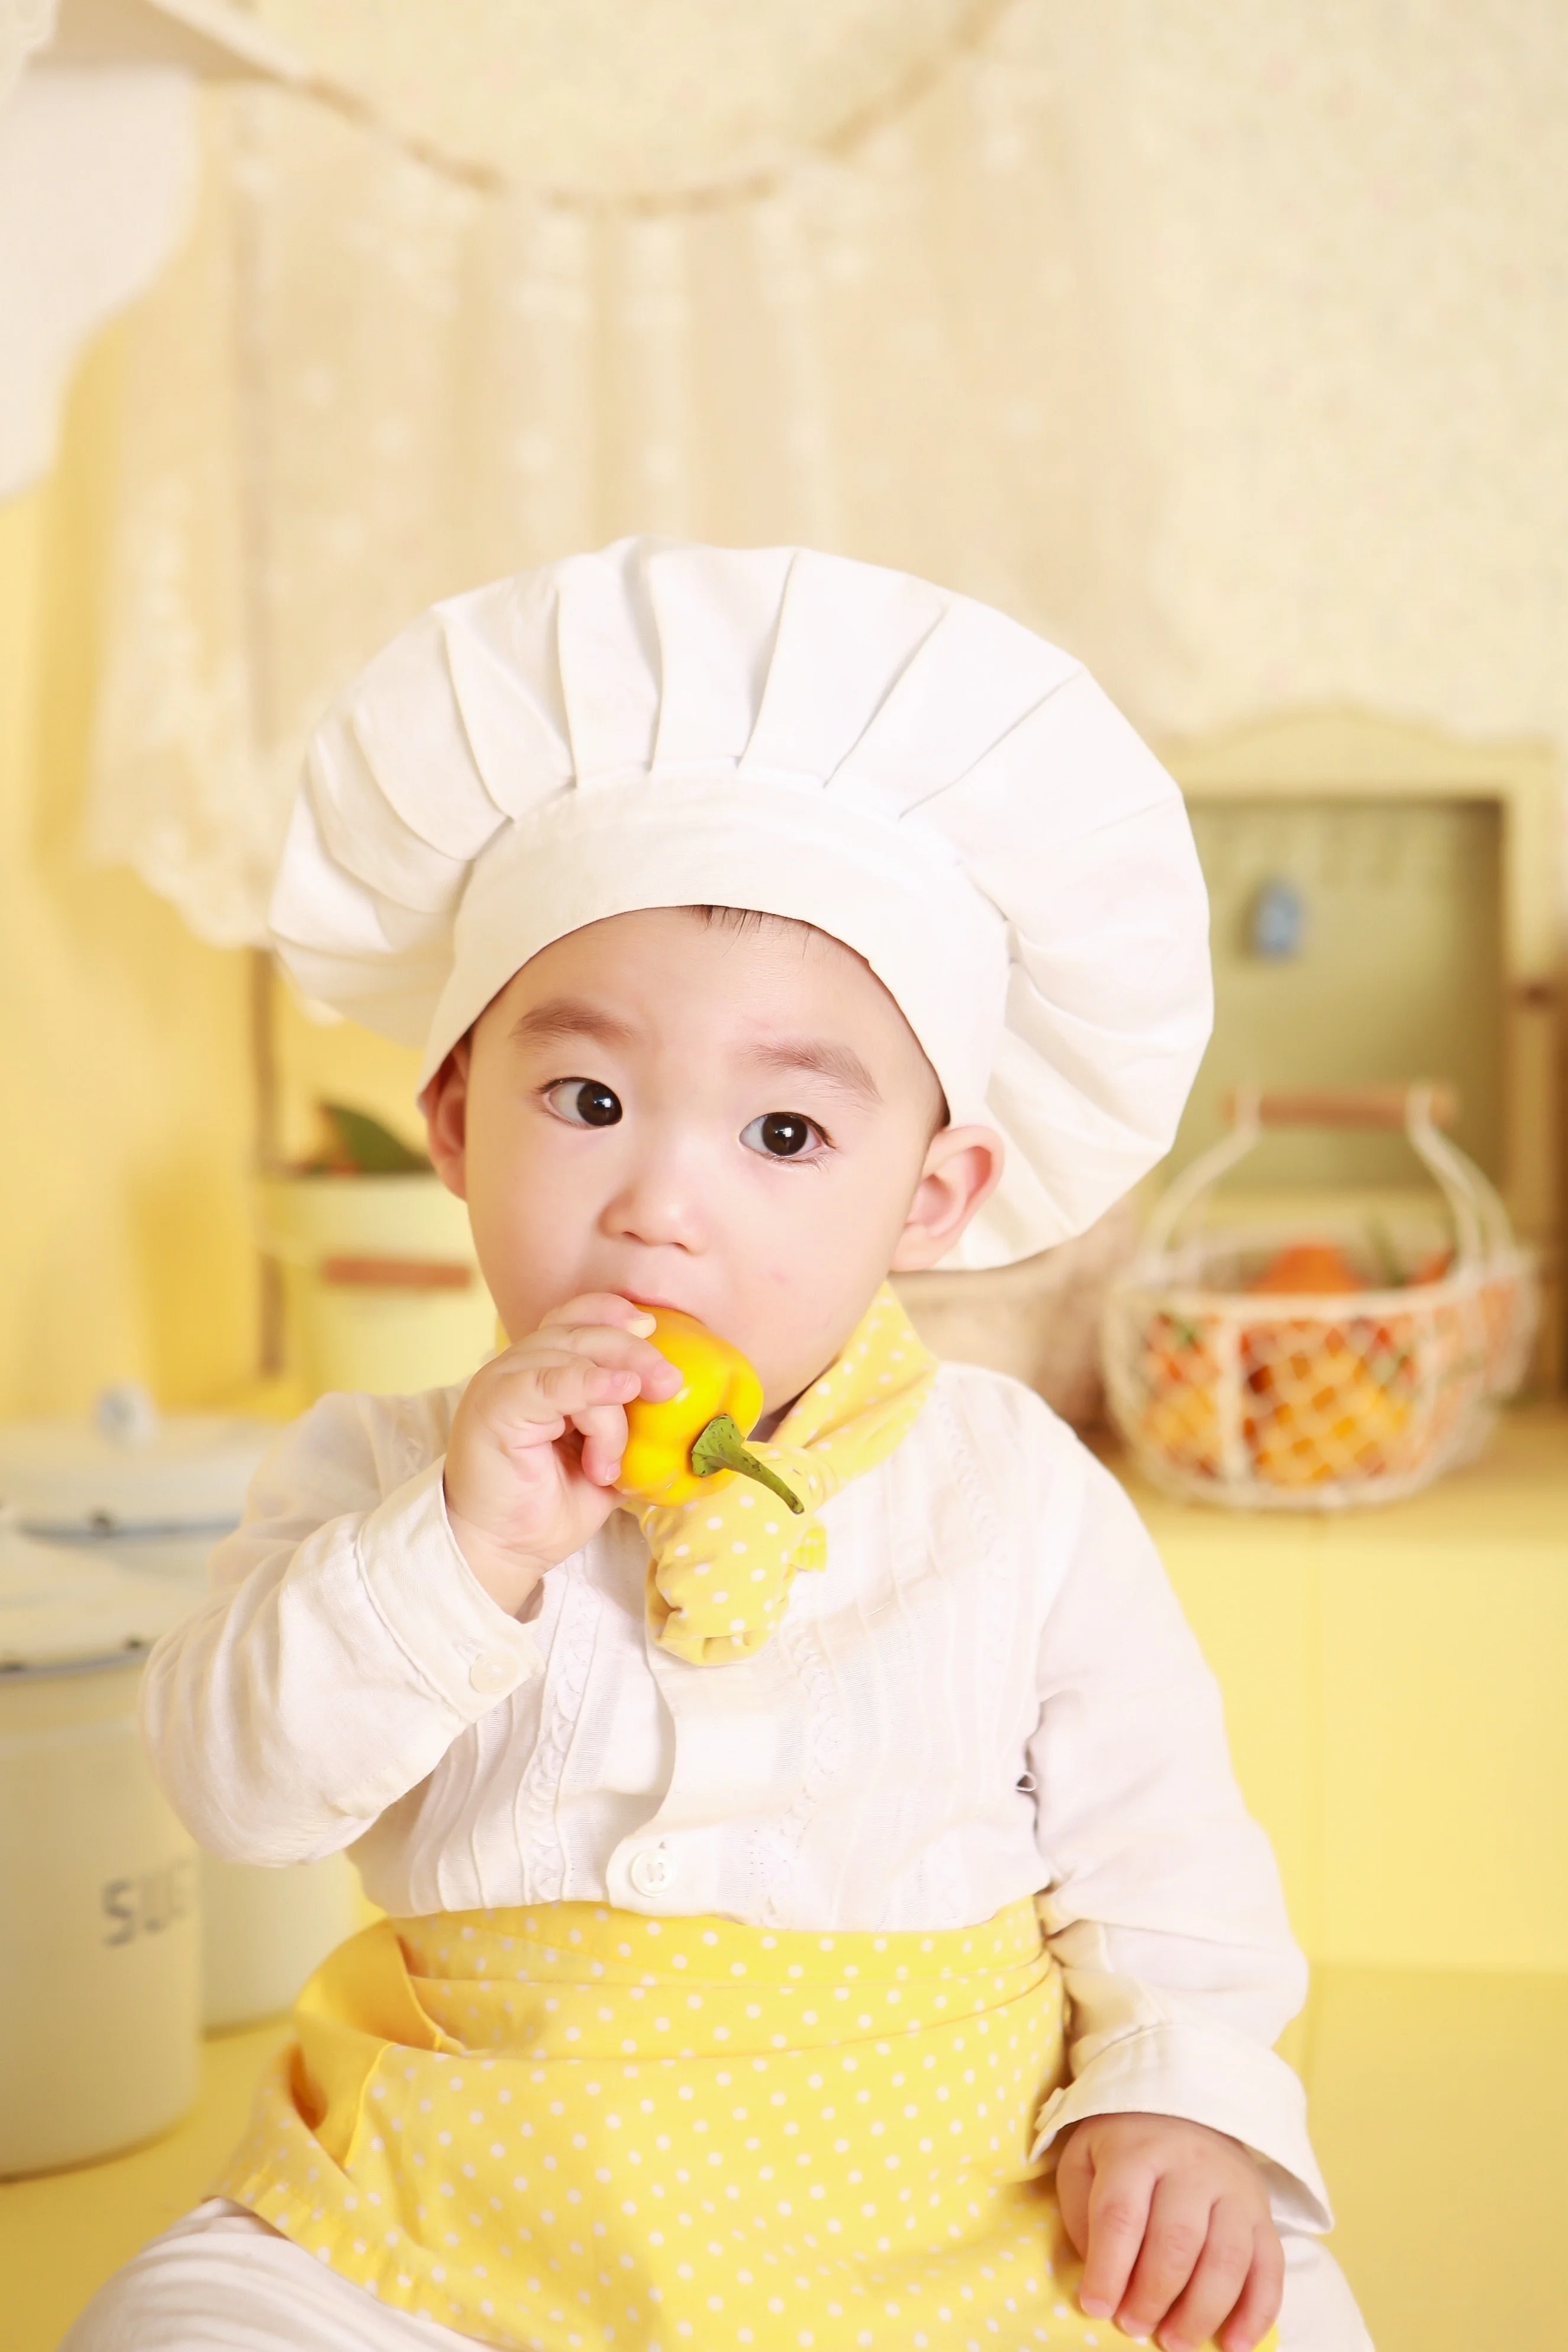
Parents may also like the shoot to reflect their jobs, hobbies, or something about them. Having an array of props for that can be useful, for example, a doctor couple would like their baby in a little doctor outfit.

7. Home Sweet Home
It is advisable to have the session at the baby’s home itself. The reason for this is that babies are in a completely different world after birth. As a result, staying in the comfort of their own home may be very beneficial in keeping the baby calm.
A newborn session does not require much equipment. So, as a photographer, pack your bags and make your studio mobile for these newborn photography sessions.

8. Keep the diaper on
I know it goes against popular belief, but keeping the baby’s diaper on will save you the stress of having the newborn pee and poop on your props, themselves, and their parents so it’s best to stock up some nude-colored diapers covers.
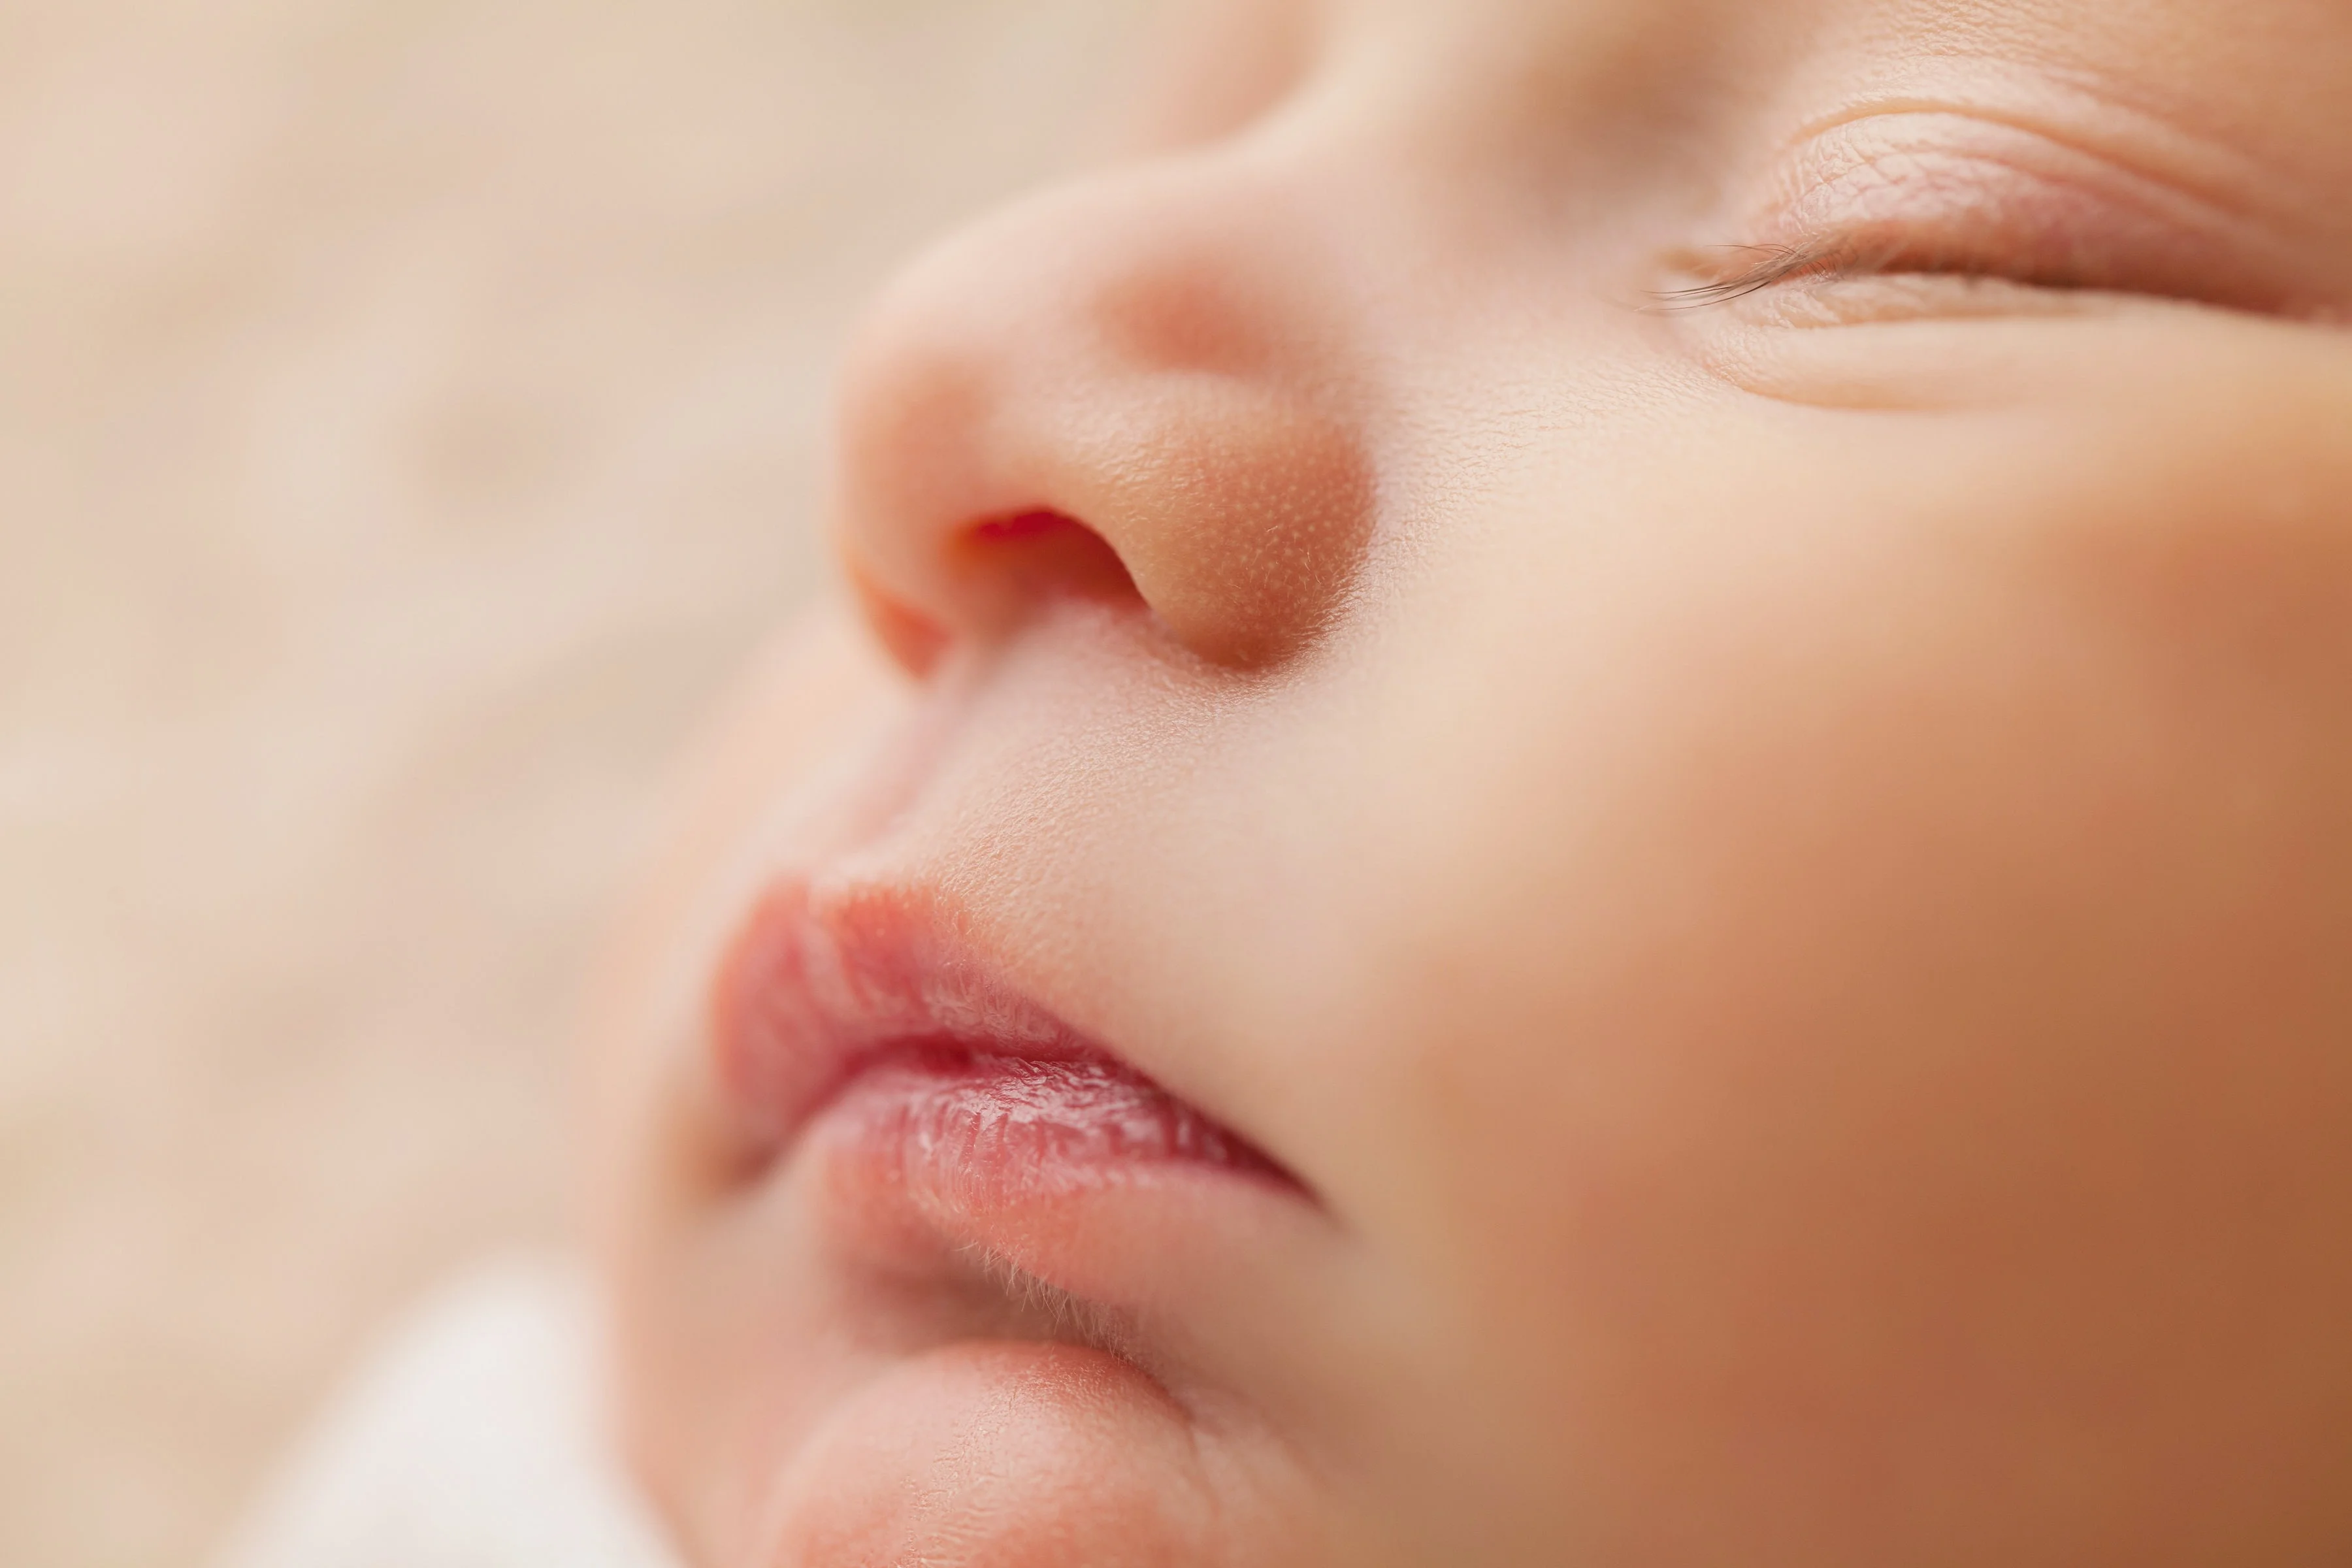
9. Detail shots
Detail photos can help communicate a story and are less difficult to shoot than wider portraits. If you can incorporate a feeling of size by comparing the parent’s hands to the baby’s small fingers or toes, that’s even better.

10. Post-production
Learn to work in Adobe Photoshop Lightroom and Photoshop after the shoot to give the baby an even skin tone. You can remove any blemishes on their skin.
A lot of newborns have blotchy skin, jaundice, or baby acne & it is best to always smooth out their skin This is especially true for close-ups of a baby, which can highlight blemishes on the infant’s skin.
Always communicate with parents if they want the blemishes, acne, etc to be retained.

Conclusion
I hope you have a lot of fun playing with your camera and lighting, capturing those wonderful little details, and preserving these precious early days.
Make sure to check out our next blog on “How to capture timeless black and white family portraits?” from our Ultimate guide for family photographers.
-Jun-19-2026-12-08-11-9138-PM.png)
-2.png)