


You just wrapped an all‑day shoot. Lights down. Camera off. You may be exhausted, but there’s still one big thing standing between you and sleep: 8,000 photos waiting to be sorted.
Quick Answer
What is the best Lightroom alternative?
The best Lightroom alternatives in 2026 are FilterPixel (AI culling + editing), Capture One (pro color grading), DxO PhotoLab (auto corrections), and Darktable (free/open-source). FilterPixel excels for high-volume photographers needing fast AI-powered workflows.
- FilterPixel: Best for AI culling + batch editing
- Capture One: Best for color grading
- DxO PhotoLab: Best for automatic corrections
- Darktable: Best free option
If you’ve ever felt stuck grinding through endless imports in Lightroom, or bounced between culling, tagging, editing, and exporting apps… this launch is for you.
Shot thousands of photos?
FilterPixel culls them in minutes using genre-specific AI. Try DeepCull free.
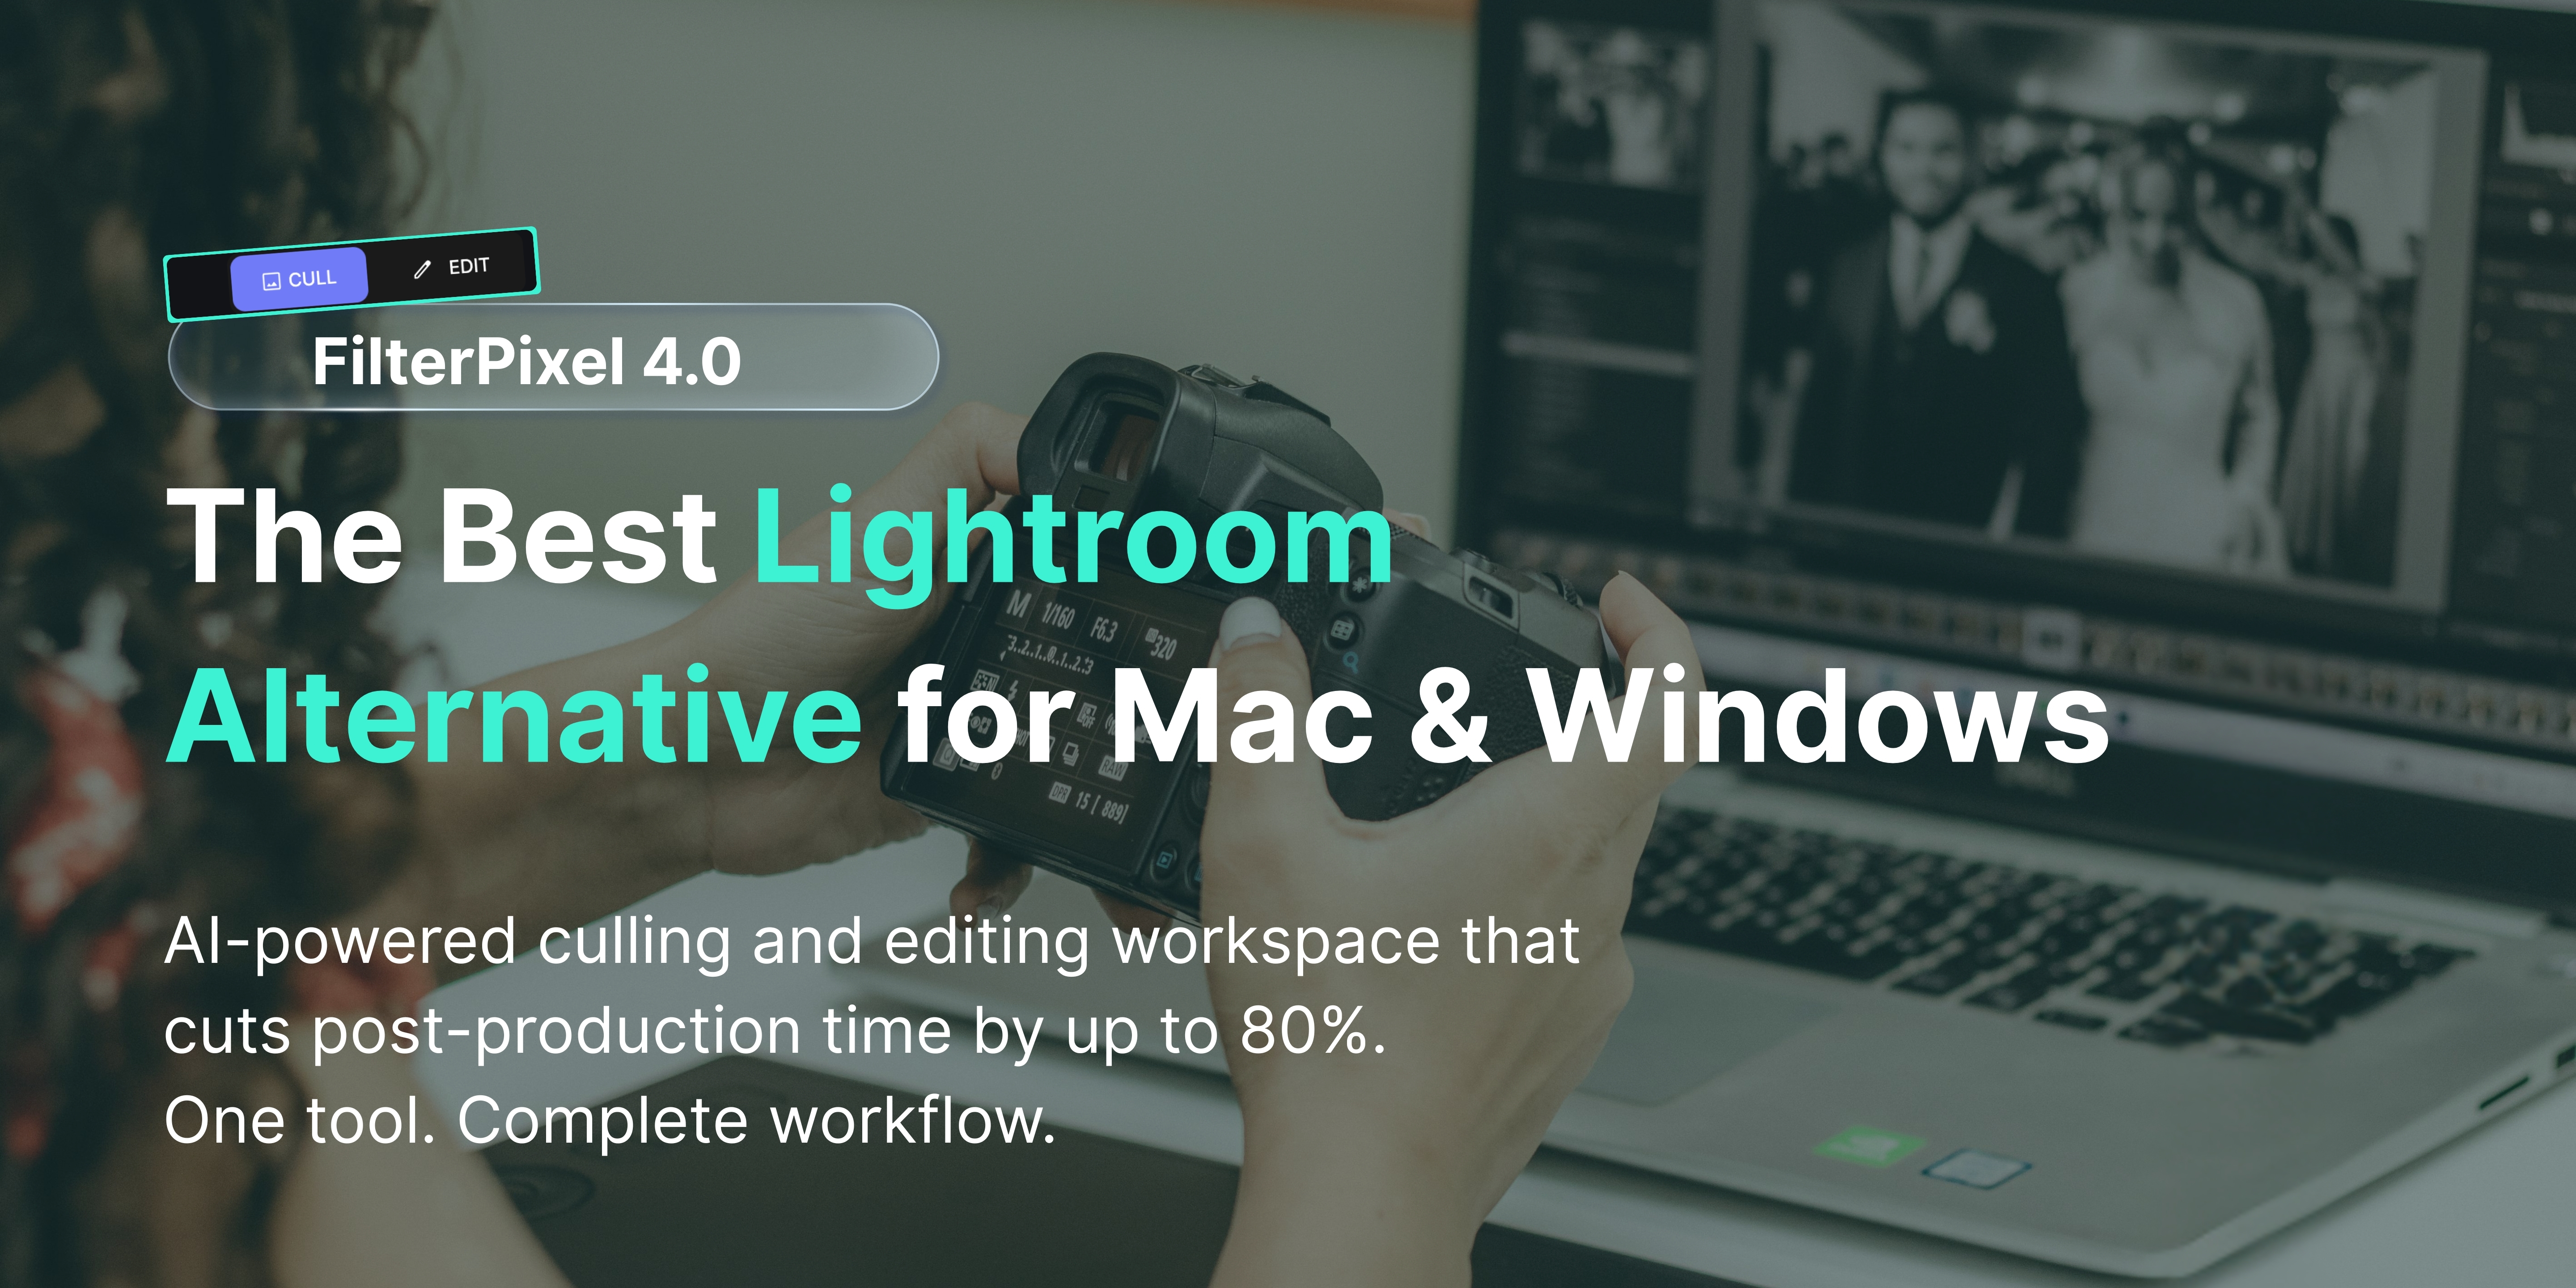
Welcome to FilterPixel 4.0—a fully redesigned, AI‑powered post‑production workspace that blurs the line between culling and editing. Whether you use Mac or Windows, this is the best Lightroom alternative for Mac & Windows—built to free your workflow and your creativity.
A Vision for Creators, Not Catalogs
Over the past year, we’ve sat down with hundreds of photographers:
Let it be wedding photographers slogging through 20K‑image events, hundreds of portrait artists manually curating subtle vignettes or destination photographers working in makeshift setups on the go.They all shared the same frustrations, in a nutshell:
- “Lightroom drags on big folders—especially during selects.”
- “I spend more time switching apps than shooting.”
- “I wish everything—cull, edit, export—lived in one place.”
The Core Features: Smarter, More Flexible, Designed for You
FilterPixel 4.0 is born from these conversations. We didn’t just sprinkle in more features—we reimagined what it means to finish faster without clutter. It’s not just a tool. It’s a partner in your workflow
1. All‑in‑One Interface: Seamless Workflow
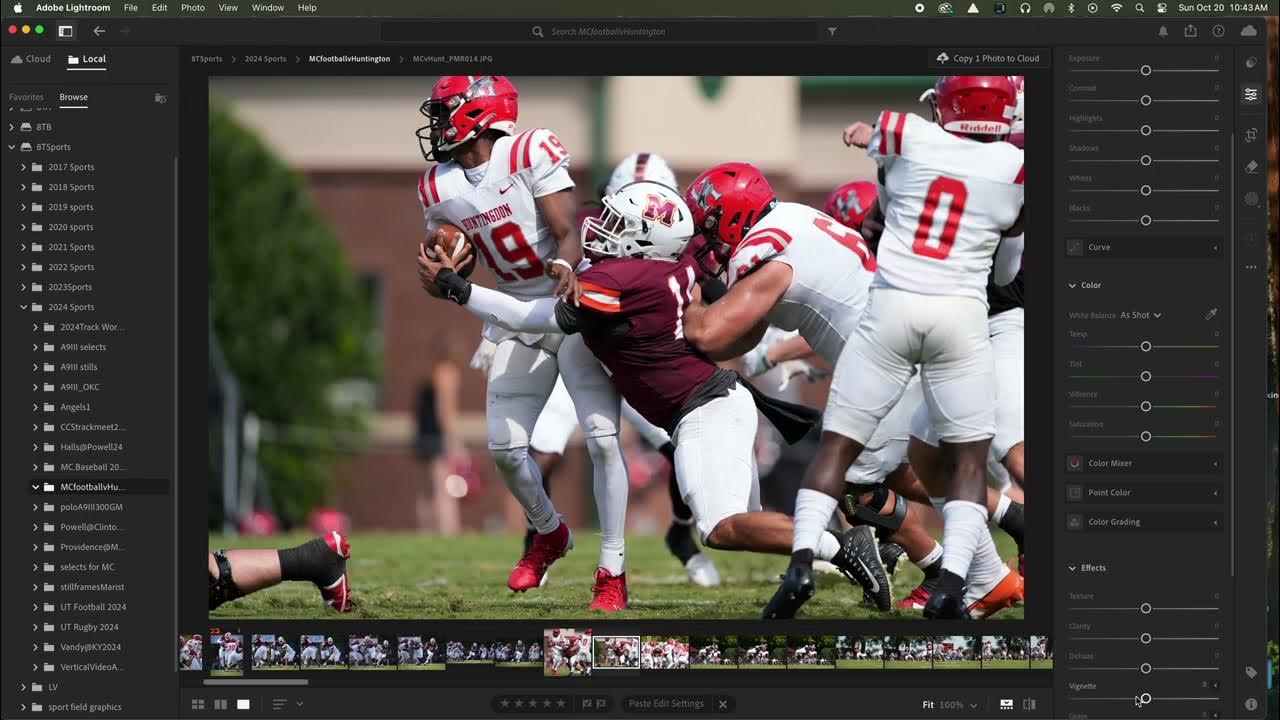
One of the biggest differences between Lightroom and FilterPixel is the all-in-one workflow. Unlike Lightroom, where you need to bounce between Photo Mechanic and Finder, FilterPixel lets you cull, edit, and export in one place. In my tests, this meant delivering overnight galleries in half the usual time.

In practice, I’ve seen wedding photographers turn around overnight galleries with ease, event shooters deliver polished sets the very same evening, and headshot studios finish final shots in minutes—speed that simply isn’t possible with a Lightroom-only workflow.
2. Magic Number Tool & Configurable Culling Preferences
Magic Number Tool: Want exactly 100 curated frames from a 3,000-image reception? Enter “100”—and FilterPixel picks the standout images based on focus, expression, variety, and composition.
It intelligently clusters similar bursts and surfaces the strongest shot in each. You may end up with 115 or 125—quality over quota.

Prefer manual control? Use the Culling Preference sliders instead:
-
Control duplicate strictness
-
Set blink detection sensitivity
-
Adjust focus quality thresholds
Choose from Strict, Moderate, or Lenient modes. The AI adapts to your style—not vice versa.
From what I have seen, portrait photographers preserve soft-focus artistic frames. Event shooters maintain consistency. You get one tool that handles it all.
Learn more about Magic Number available in FilterPixel
3. Review Mode, Survey Mode & Face Mode
Each mode is built to make reviewing faster and more precise, whether you’re sorting bursts, comparing expressions, or checking faces.
-
Review Mode: View up to 3X more images per screen, with bursts grouped into sets for quick sorting.
-
Survey Mode: Tap the copy icon on a group to see up to 12 images side‑by‑side that pan and zoom together—ideal for tight expression or focus checking.
-
Face Mode: With one press, FilterPixel auto‑zooms into each detected face. Navigate via arrow keys, evaluate expression/sharpness, and exit to full review instantly.

For event shooters, this meant I could zoom into faces at table dinners without clicking around endlessly—a massive time saver compared to Lightroom.
Learn more about the review tools available in FilterPixel
4. New Editing Profiles & Shareable AI Style
FilterPixel 4.0 introduces three new, high-impact AI editing profiles: PureTone, Espresso, and Aura. These offer vibrance, depth, and tonal harmony depending on your editing vibe.
But more importantly:
-
Train your own style—or pick one.
-
Import or export AI styles to share or standardize across teams or clients.

For studios, FilterPixel makes it easy to keep every photographer’s edits consistent across the brand. Mentors can even share their signature style with students—exported as an AI profile that applies in seconds.
Subscribe to FilterPixel 4.0
5. Resilient Project Management & Correction Controls
One area where FilterPixel really pulls ahead of Lightroom is in the small-but-critical details of project handling. Simple actions like undo/redo aren’t limited to editing—they work across culling, tagging, and adjustments, so mistakes don’t feel permanent. If you’ve ever moved a folder to a different drive and watched Lightroom choke, FilterPixel’s Relink Project keeps everything intact without starting over. And when it comes to cleaning up junk or rejected shots, you can delete them directly inside the app—no detours to Finder or Explorer.
These refinements may seem minor, but in practice they strip away a ton of friction and make the workflow far less error-prone.
6. Flexible UI & Language Support
FilterPixel’s interface feels designed for the way photographers actually work. Thumbnails and face views can be resized on the fly, so whether you’re scanning wide galleries or zooming in for precision, the workspace adapts to you—not the other way around. And with full language support in Spanish, German, and Portuguese, it’s ready for global studios and teams who need consistency across borders.
Built for Pro Workflows—and Pro Expectations
FiFilterPixel’s upgraded culling engine shows its strength when the workload gets heavy. Even on slower machines or massive shoots, it runs with far fewer crashes or freezes than Lightroom. I’ve seen destination photographers successfully cull through 20,000+ images on a laptop without dropped frames—something Lightroom alone struggles to handle. The result is more reliability, less stress, and uninterrupted output when it matters most.
Why You’ll Never Look Back at Lightroom Alone
Calling FilterPixel just a “Lightroom alternative for Mac & Windows” doesn’t really do it justice—it feels more like a modern rethink of post-production itself. Where Lightroom slows to a crawl on big imports, FilterPixel’s AI-driven engine consistently cuts culling time by up to 80%, freeing entire evenings per shoot. Instead of juggling multiple apps, everything—culling, editing, exporting—lives inside one clean workspace, so you stay in flow.
The creative side isn’t lost either. Unlike other AI photo editing software that flattens styles, FilterPixel respects nuance—you can train it on your look, or share/export profiles across teams for consistent results. And when it’s time to deliver, you’re not locked in: exports move seamlessly into Lightroom, Capture One, or straight to folders, with ratings, metadata, and labels intact.
In short: Lightroom remains powerful, but on its own, it feels outdated compared to the speed, reliability, and creative flexibility FilterPixel puts on the table.
FilterPixel vs Lightroom: A True Workflow Comparison
If you’ve been in photography long enough, you’ve probably asked yourself the same question that’s flooding Reddit threads and studio group chats: Is Lightroom still the best tool for pros, or is it time for a smarter alternative?
The honest answer is—Lightroom is still a fantastic editor, but it was never built as a high-volume culling machine. Its strength lies in deep editing, catalog management, and the Adobe ecosystem. But once you hit folders with 3,000+ RAWs from a wedding, or 20,000 frames from a multi-day event, Lightroom starts to feel less like a tool and more like a bottleneck.
That’s where FilterPixel steps in—not as a replacement for creativity, but as a workflow upgrade.
Real‑World Use Cases
FilterPixel 4.0 adapts to every photographer’s unique challenges—helping you deliver faster, cleaner, and more consistent results.
1. Wedding Photographers
Convert large wedding sets into stunning, story-driven selects—within hours.
2. Portrait Studios
Review faces, sharpness, and subtle expressions 10X faster with Face Mode and Survey Mode.
3. Event and Conference Shooters
Cut turnaround time dramatically—sort groups, relink folders, and deliver polished sets the same day.
4. International & Team Workflows
Now your global teams can work natively in Spanish, German, or Portuguese—with consistent editing styles thanks to AI profile sharing.
Try It Now — 3 Free Projects
We believe in earning your trust, not locking you in. That’s why FilterPixel 4.0 grants three full projects free, with complete access to culling, editing, review, and export. No credit card required. How to start:
- Download FilterPixel for Mac or Windows
- Create your first project
- Drag in your RAW or JPEG files
- Pick a culling style (Magic Number or custom sliders)
- Enter Review Mode ➔ Survey Mode ➔ Face Mode
- Choose a built‑in AI profile—or train PureTone, Espresso, Aura or the other 4+ profiles.
- Export to folder, or LR, LRC, PS with metadata intact
Try Now: Sign-up Here
Final Note
FilterPixel 4.0 isn’t just another app update. It’s a powerful shift away from software that slows you down—and toward a new way of working where AI supports your eye, not replaces it.
If you've been exploring alternatives to Lightroom Mac, looking for Adobe Lightroom alternatives free, or wondering what other photographers on Reddit are actually switching to...
Try FilterPixel. It’s made for you.
👉 Start your free trial and get 3 full projects →
Here’s to work that works with you—not against you. Still exploring free options? Here’s our guide to the best free Lightroom alternatives.
.png)