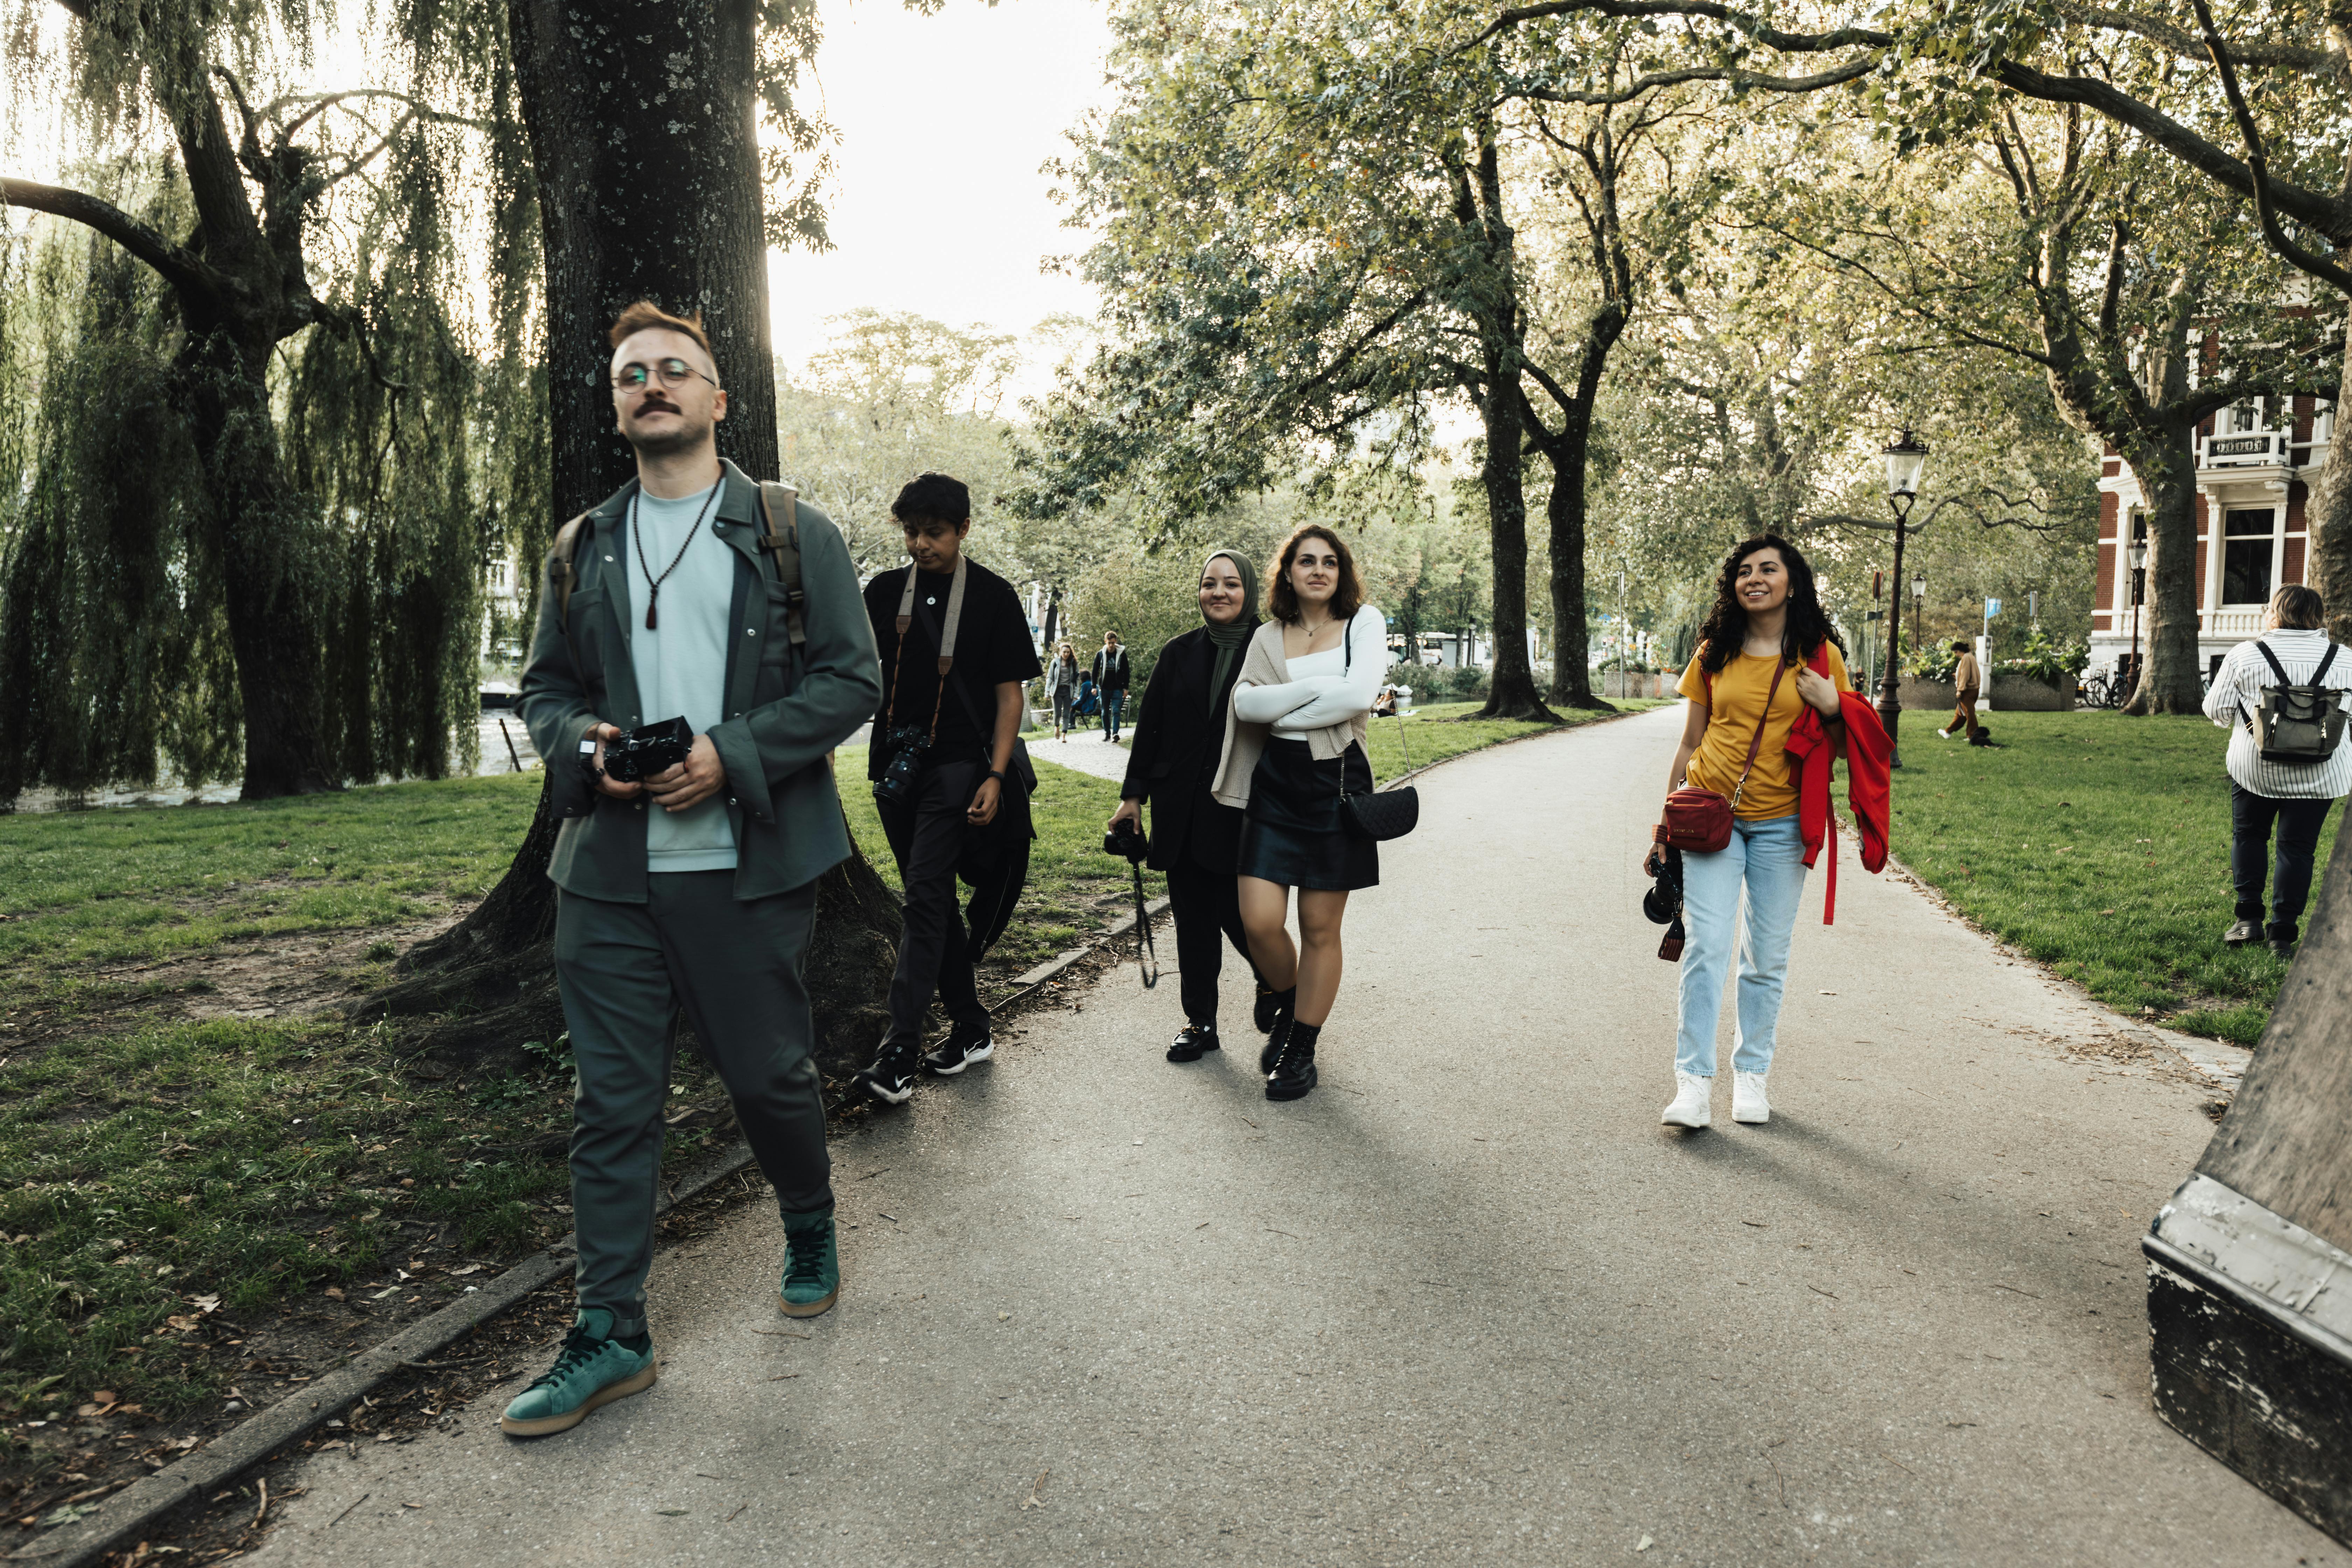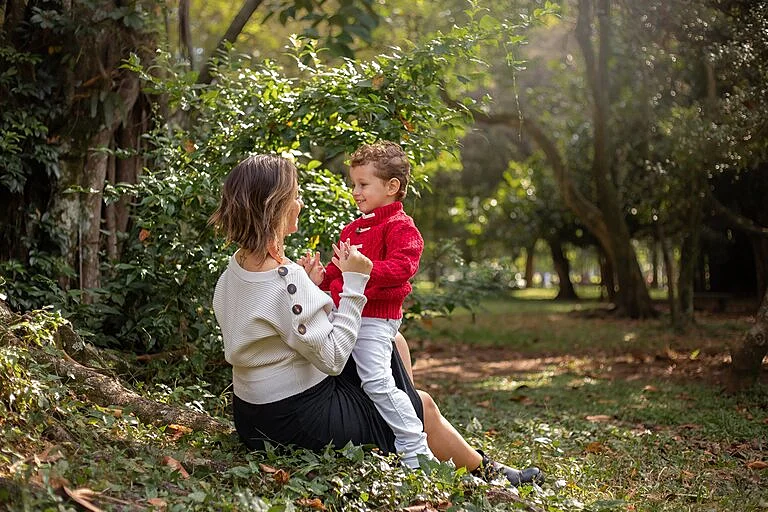


Family Photographers should never undermine the importance of good post-processing. It can turn an ordinary family picture into one of the most beautiful memories for the family.
A lot of natural light photos may look average at first but it is your job as a family photographer to unleash the true potential of every photo and give jaw-dropping results to your clients.
In this blog of our Family Photography series, let’s look into 8 tips for editing family portraits in Natural Light using Adobe Lightroom Classic.
1) Starting With The Basics
For family Photographers, I would suggest always starting with fixing the exposure and white balance of the picture. Then move on to contrast, highlights, shadows, and other basic sliders.
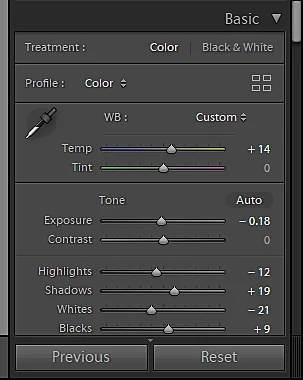
Increase the saturation if you think the colors are too dull but not too much as it can mess up the skin color of the subject. In order to keep the skin tone unaffected, I would suggest increasing the vibrance instead to make the picture more pop out.
Play around with the elements of every slider (don’t go too extreme) and check what range gives your family portrait the best results.
Use the tone curves to fix and adjust the shadows, mid-tones, and highlights of the image which are located in the graph respectively from left to right.
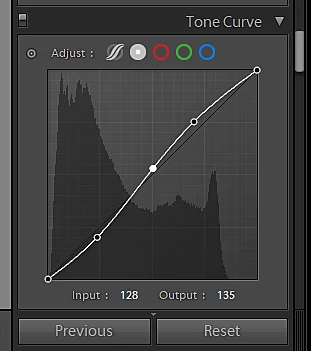
Dragging the curves upwards of such areas (such as shadows on the left) will raise their brightness and lowering it will decrease it.
The key here is to play around and create a slight S-shaped curve in the tone curve graph to achieve the best results.
Note: Make sure your editing screen is calibrated or else the result will be different when viewed on other devices. To know more about calibration, check out this page.
2) Hue/ Saturation/ Luminance
Not satisfied with the color of the leaves in the background?
Simply go to the HSL section and change the slider of green Hue. Play around with the saturation to increase the intensity of the green. Luminance will change the brightness of the green.

Many family photographers turn the green hue of leaves into yellow to give an autumn theme to the photo.
If you live near a water body, you can do the same with the blue color of the ocean or a river. This is a great way to change the color of an element in a photo without affecting any other settings.
3) Correct Lens Distortion
This setting helps in fixing the problems or distortions created by the lens in the photo such as distortion, chromatic aberration, and vignetting.
Fortunately, you can fix these errors easily with Lightroom under the lens correction section as it can detect most of the supported lenses. Simply go to the lens correction panel and select both of the options:
-remove chromatic aberration and enable profile correction.
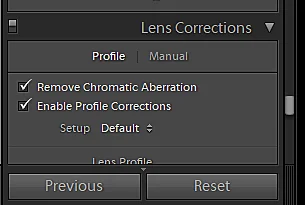
Every lens correction setting is done according to the type of lens used. So you can’t apply the same setting of a lens to a picture taken by another lens.
You will notice your family photo being altered into a better form than before, especially along the edges.
4) Copy Paste the settings
For photos taken in similar settings, you don’t have to always start the whole editing process from the beginning.
After making all the adjustments in one photo, you can simply copy the settings, down below on the right.
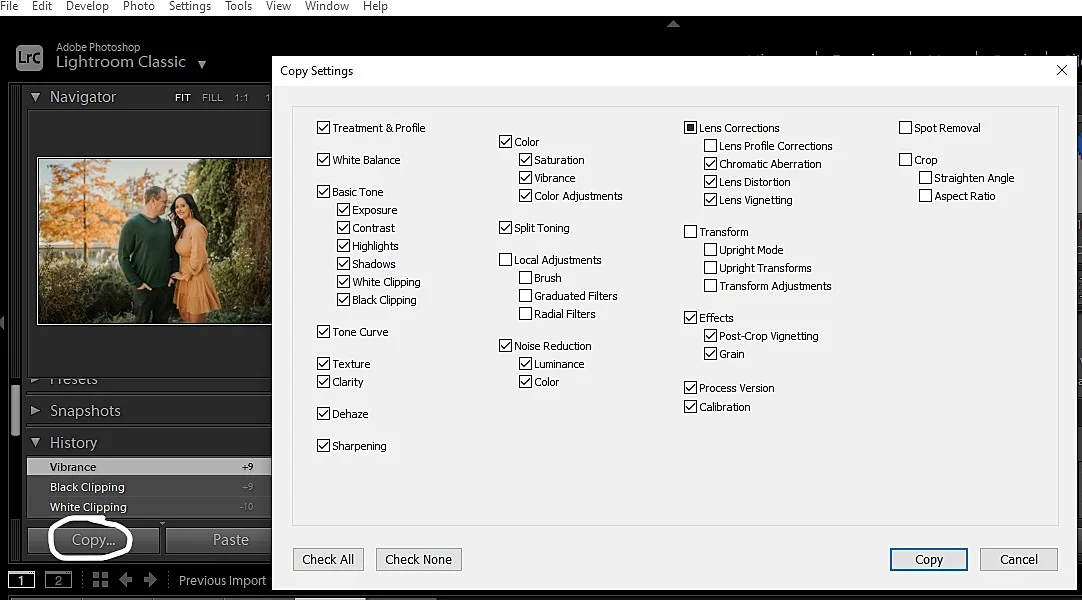
Then directly go to the unedited photo and paste the settings.
The same settings will be applied to the new photos. 🙂
This way your family photos will have a consistent look and the editing will take less time for all the photos.
5) Using the Spot Removal tool
After all the correction and color grading it is the right time to fix the distractions.
You can use the spot remover tool on the tool strip and select heal brush to fix the spots and acne on the face of your subjects.
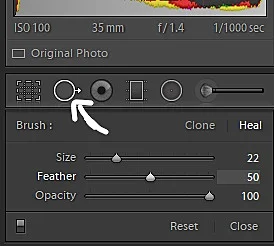
Bonus Tip: Keep the feather slider at 50% to make the fix look subtle.
As a family photographer, you don’t have to make the subject’s face look perfect but a good rule of thumb is to try fixing the spots or acne that will not be visible after a few days.
This helps in making the subject look better and more realistic without hiding the imperfections.
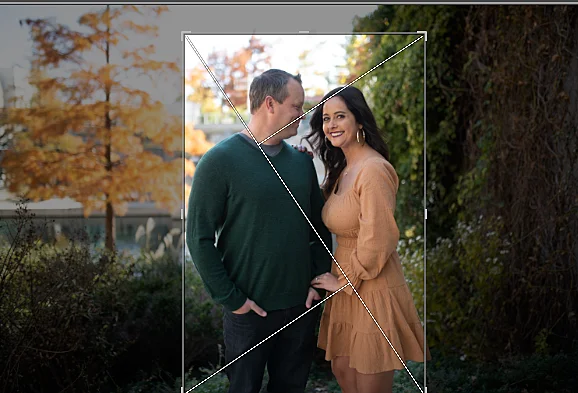
6) Cropping the Photos with shortcuts
You can crop the picture quickly by pressing the R hotkey to avoid negative space or distractions from your photo to give your photo a better composition.
After pressing R, press X to switch from horizontal and vertical cropping for portraits while maintaining the original aspect ratio.
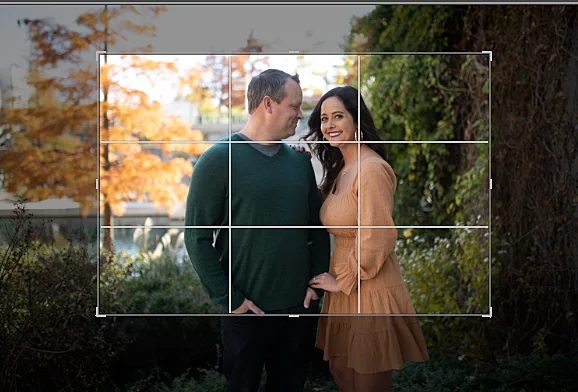
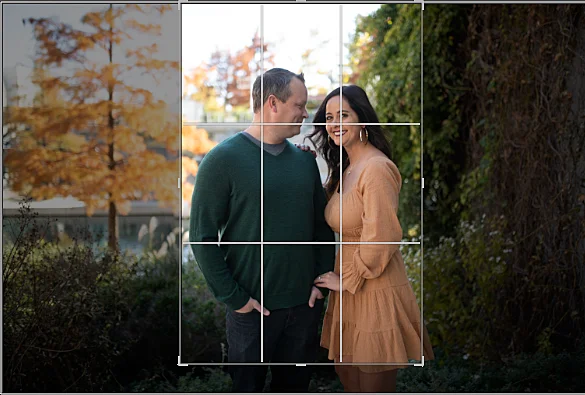
You can also press O to see different kinds of frames and overlays on your photo and crop them in a way you like.
7) Using the Adjustment Brush tool
This is one of the most powerful tools in Lightroom for family photographers.
Click on the Adjustment brush on the tool strip and then you can choose from a variety of settings in which you can use the brush on any area of your picture.
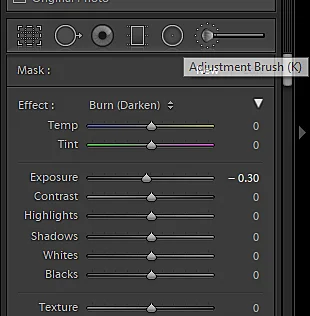
You also have the option to create a custom setting according to your preference.
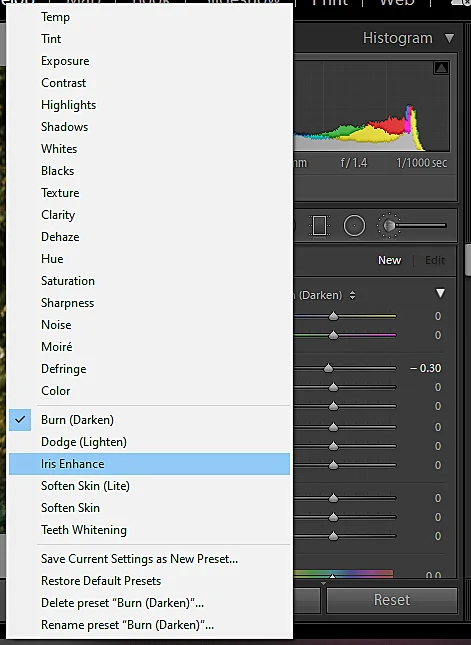
As a family photographer, I would recommend using this tool with “Iris enhance” settings on the eyes of your subject.
This can help the person in your portrait look more prominent as the eyes are one of the most important parts of a portrait.
Working on the eyes of the family members can make them look more expressive and soulful.
You can also use the Lighten (Skin) setting on the face of the family members to make their skin look glowing.
8) Check the Sharpness of the image
Lightroom automatically sharpens the RAW images that you have imported unless you have adjusted the import preference setting. Check the sharpness of your photo under the detail tab.
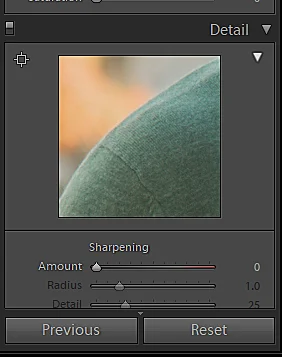
Increasing the sharpness of a photo increases the details of the picture such as the fabric and texture of the clothes. This is adjusted automatically after importing in Lightroom but that is for smaller screens such as smartphones and Desktop screens.
As a family photographer, if you are planning to print any of your iconic portraits, you would want to keep the sharpness settings a bit higher than normal or the quality of the print will be compressed and it will come printed out looking bad.
Conclusion
I hope these tips will help you edit your natural light portraits better and faster. Obviously, not all the settings will be similar for all the natural light photos.
As a Family Photographer, you will have to figure out what setting is working best for your photos.
If you liked this blog, make sure to check out our other blogs on family photography from our Ultimate Guide for family Photographers.